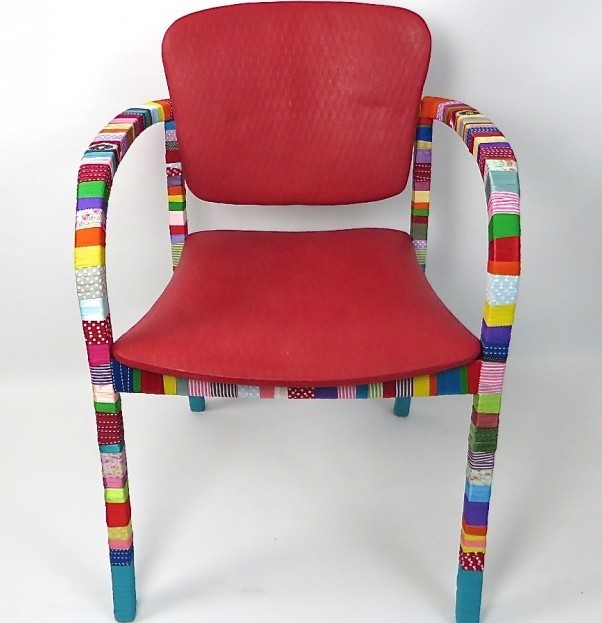
Homemade Made Easy – Weekend Project.
It’s easy to turn an unloved chair destined for the tip into a thing of beauty, from drab to fab. Be bold with colour and try new ideas…after all what do you have to lose!
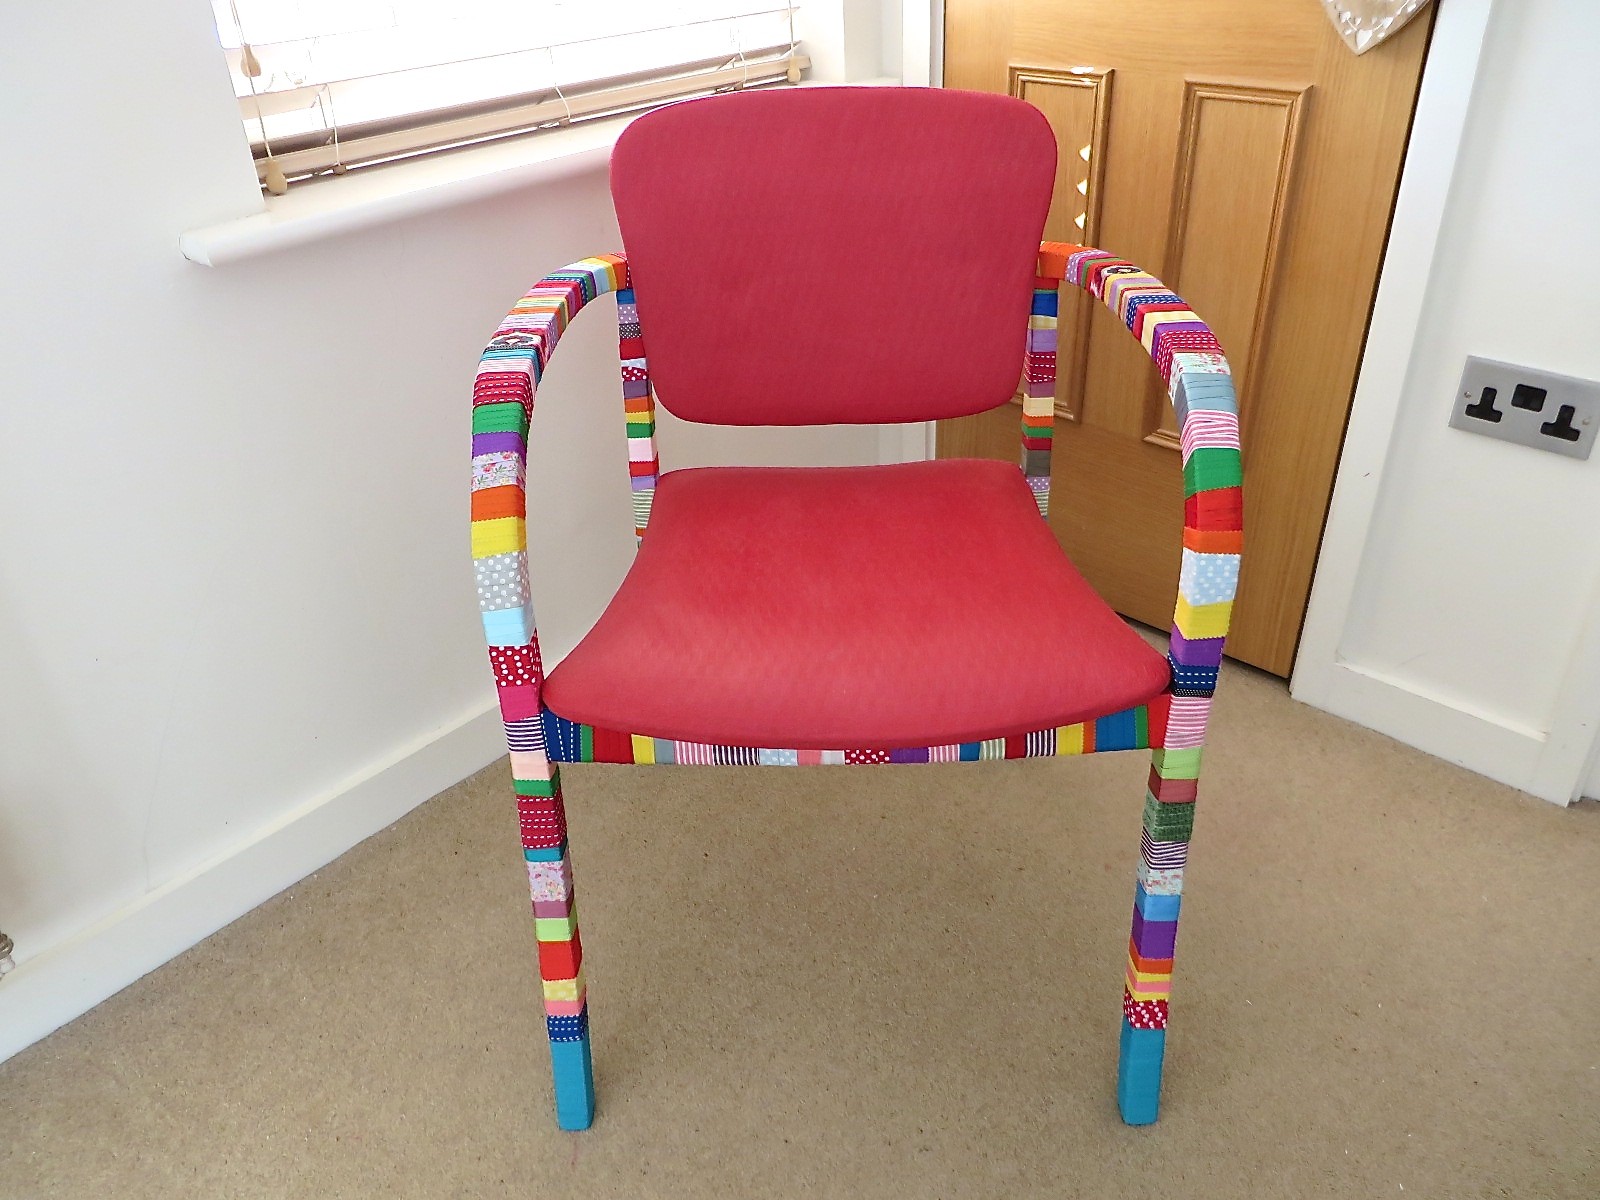
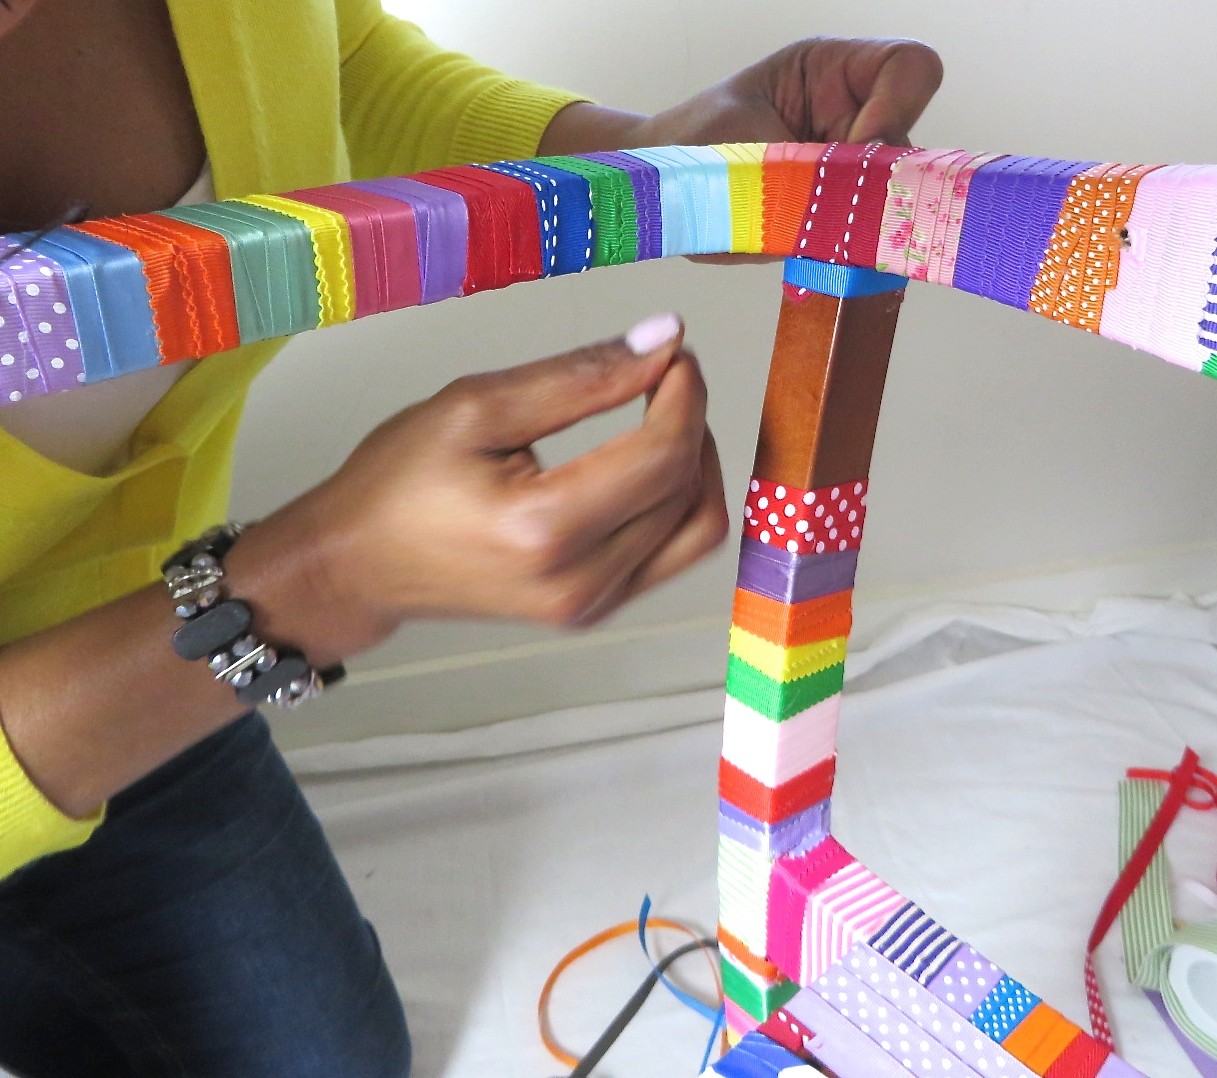
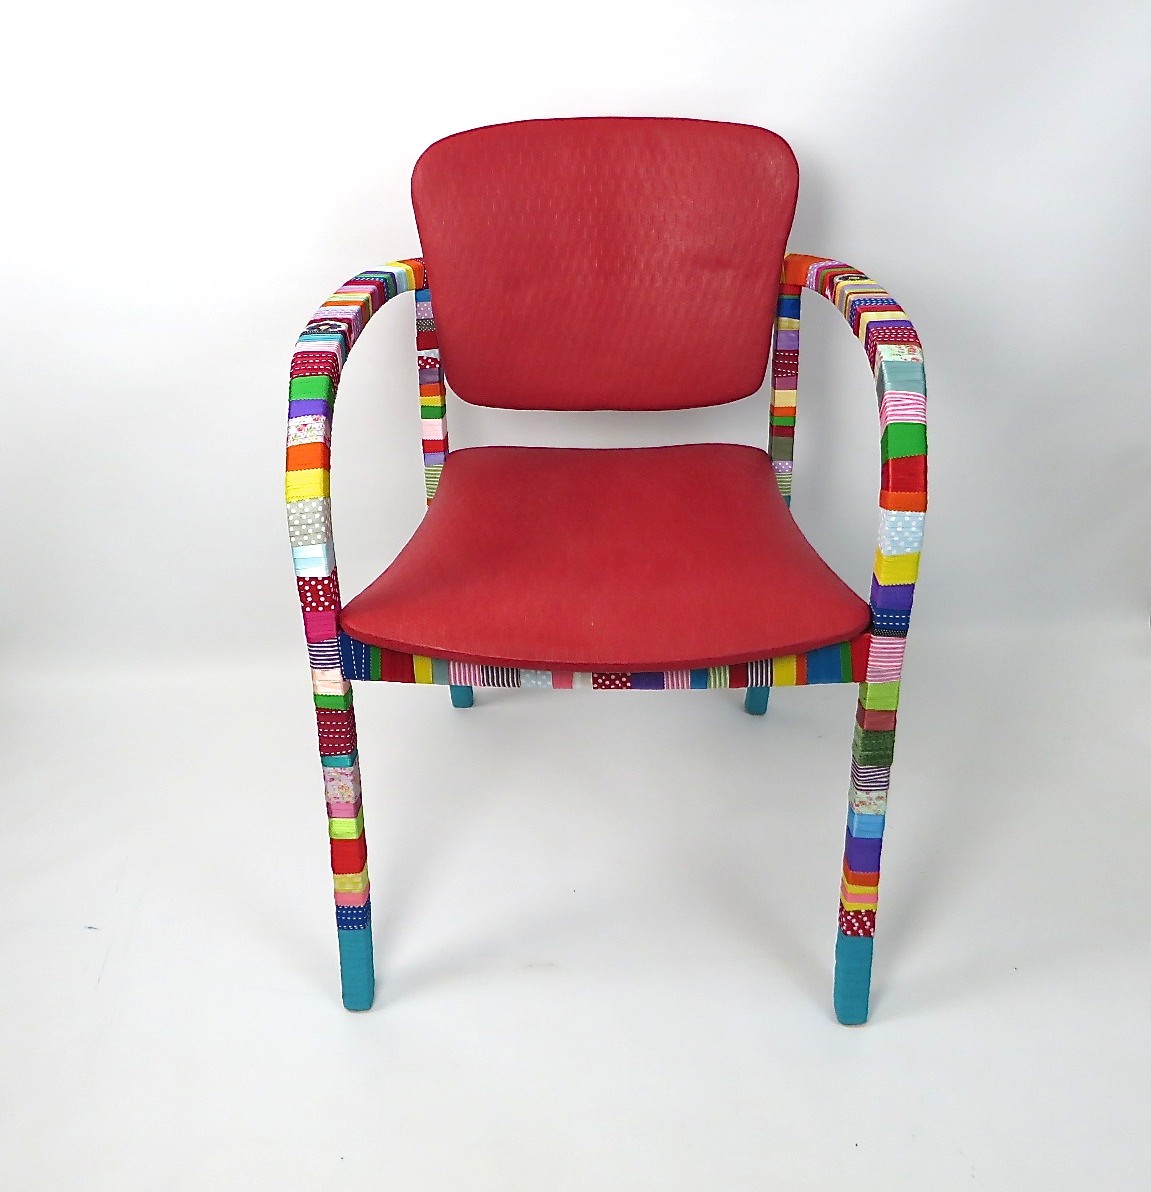
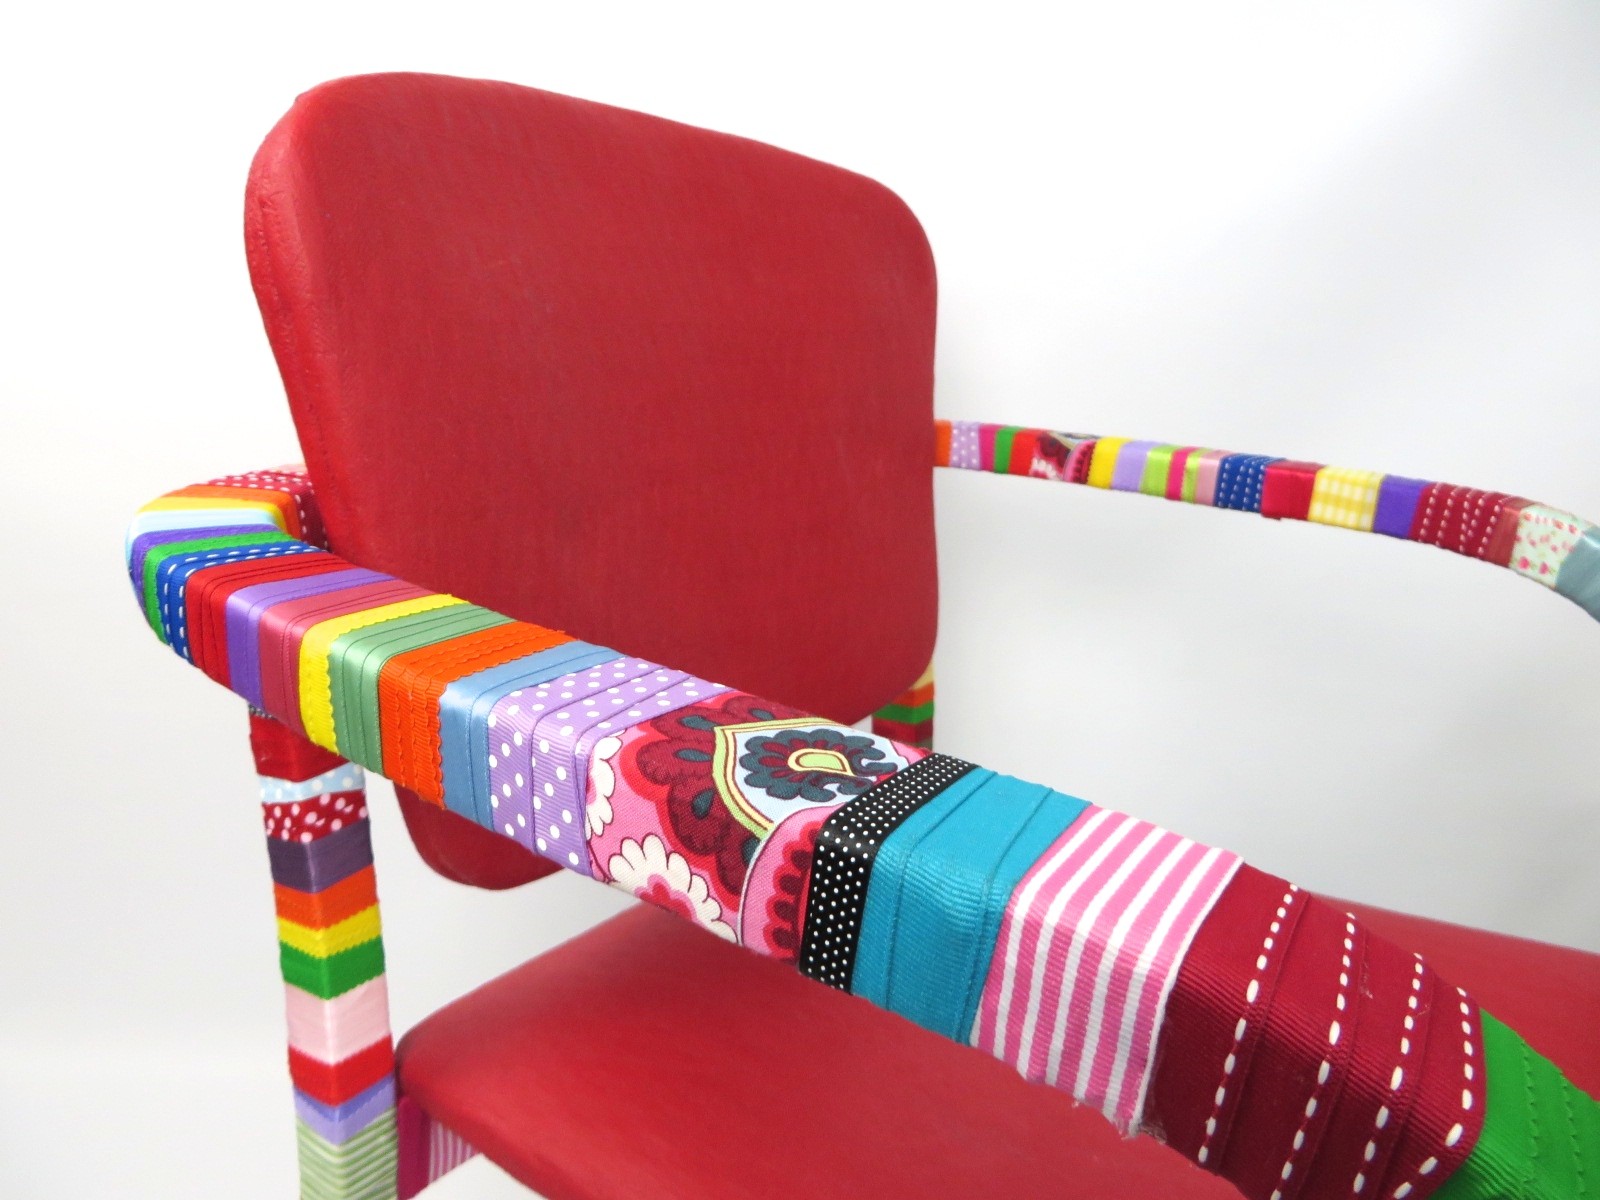
With my love of ribbon, I decided to use my stash to create a unique ribbon wrapped chair. And to paint the upholstered backrest and seat, using Annie Sloan chalk paint in Emperor’s Red. I’d been wanting to try this out for some time, now was my chance. I picked up this 70’s chair at a local house clearance and I knew a project would come along where I could transform it into a unique piece…

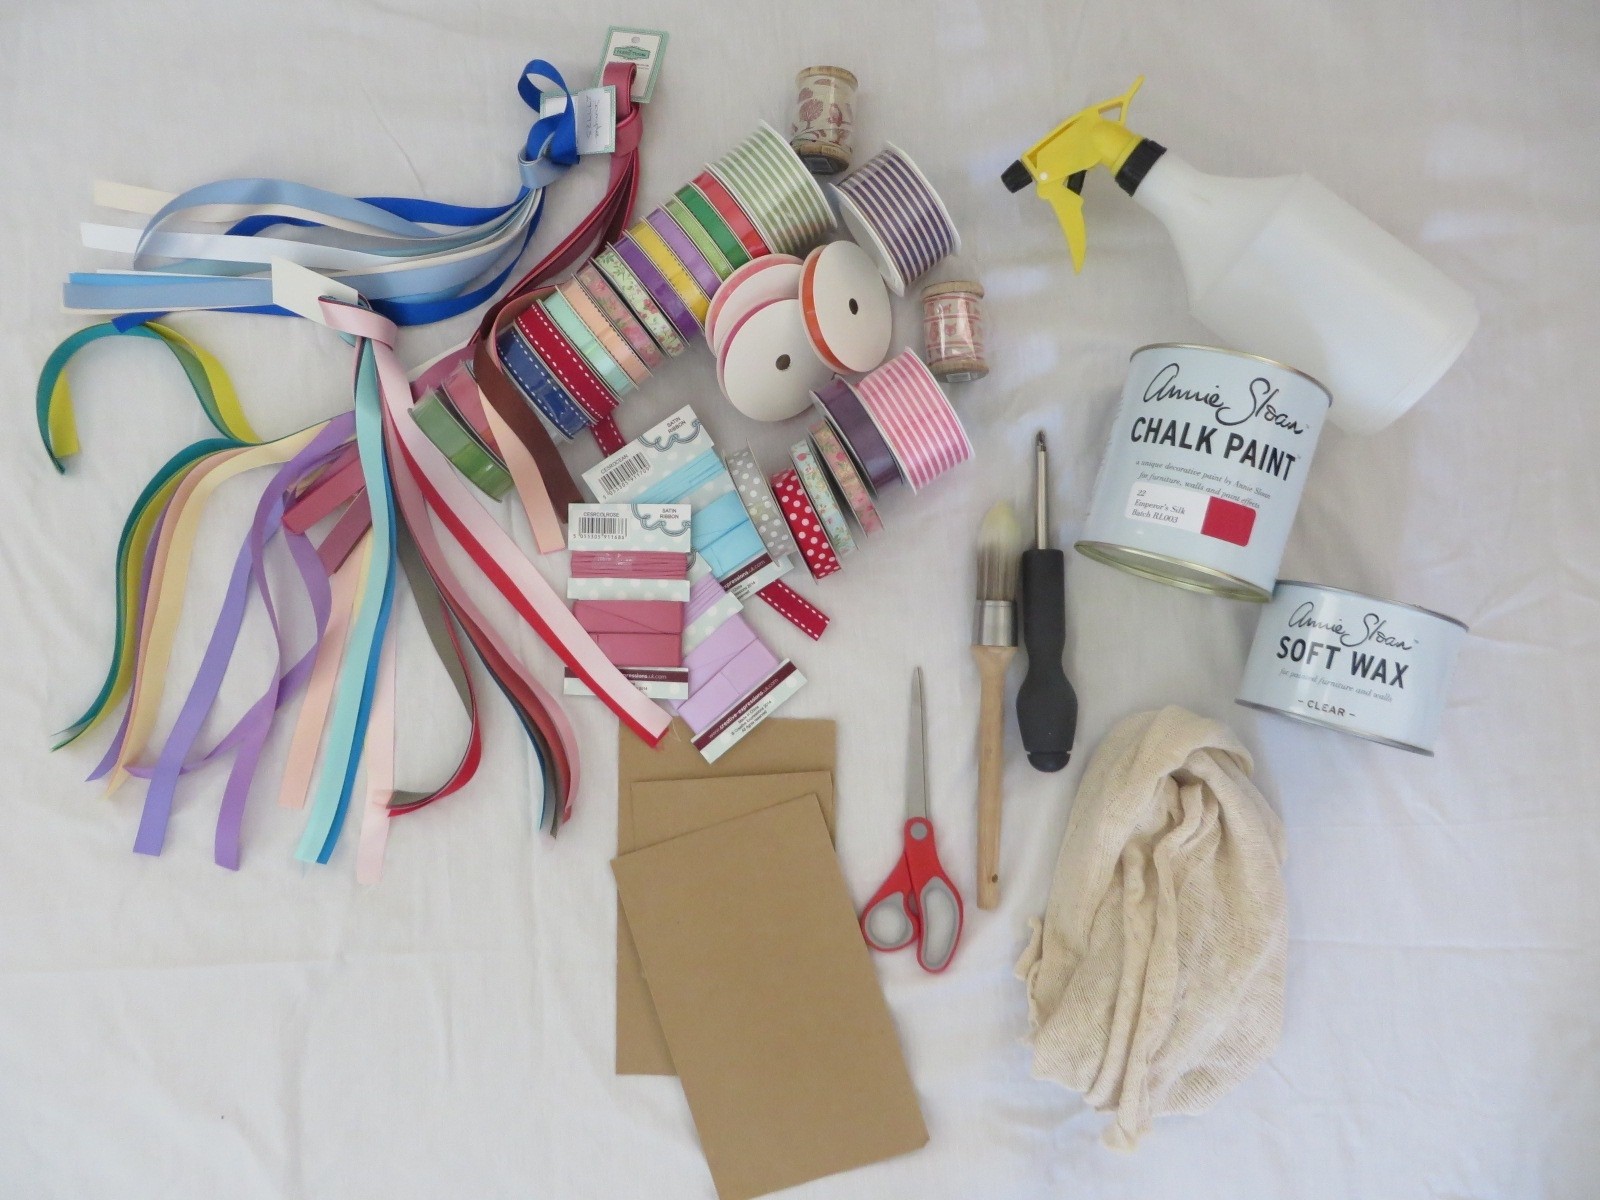
What you’ll need:
Cloth (to wipe away surface dirt and sandpaper dust)
Screwdriver
Water filled spray bottle
Fine grit sandpaper
Dust sheet (an old bed sheet or table cloth will do)
Glue gun or strong adhesive
Chalk Paint (Annie Sloan’s – Emperor’s Red)
Paintbrush
Ribbons & Scissors
Soft Clear wax and cloth
1. Work in a well ventilated area. Lay the dustsheet and check the chair for any minor damage and repair. One arm of my chair needs a touch of wood glue.
2. Remove the back and chair seat and give it a good clean to remove dirt and dust. Set to one side.
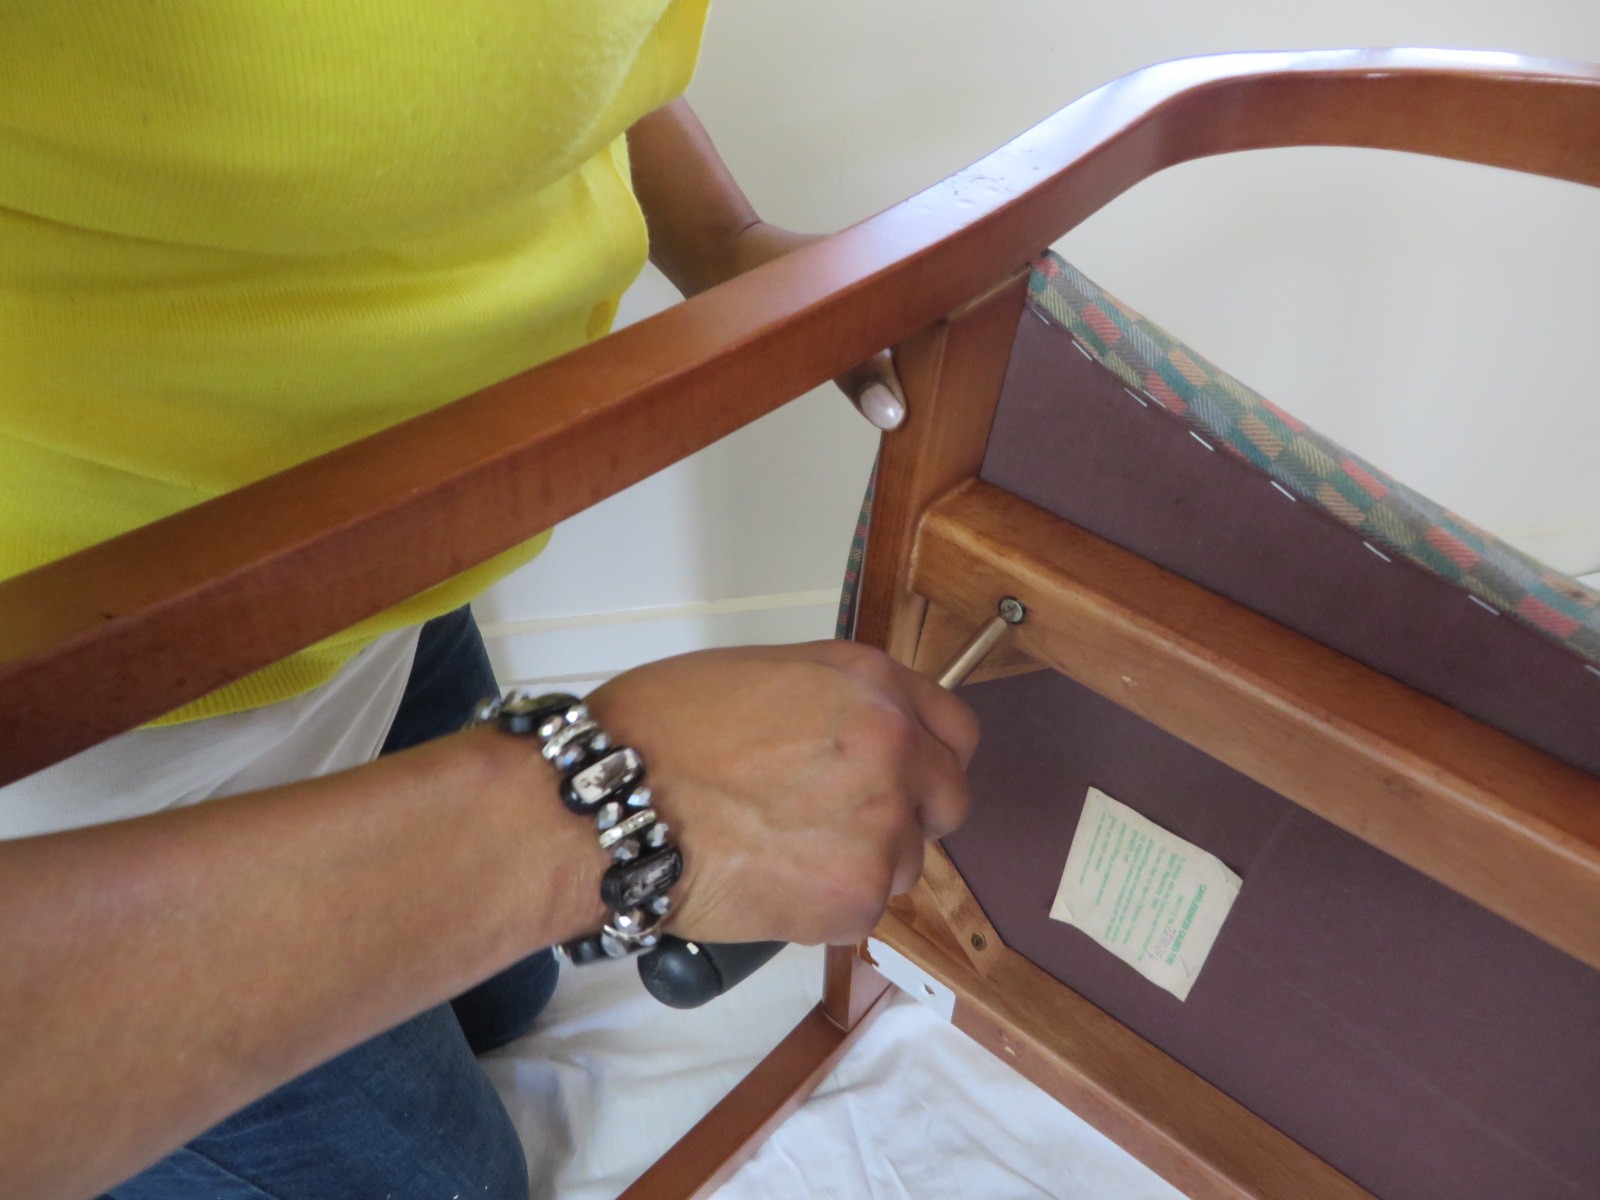
3. Once the upholstered section are removed, this is the point to repair any structural damage. Wipe the chair frame to remove any surface dirt and lightly sand. Wipe again to remove sand dust.
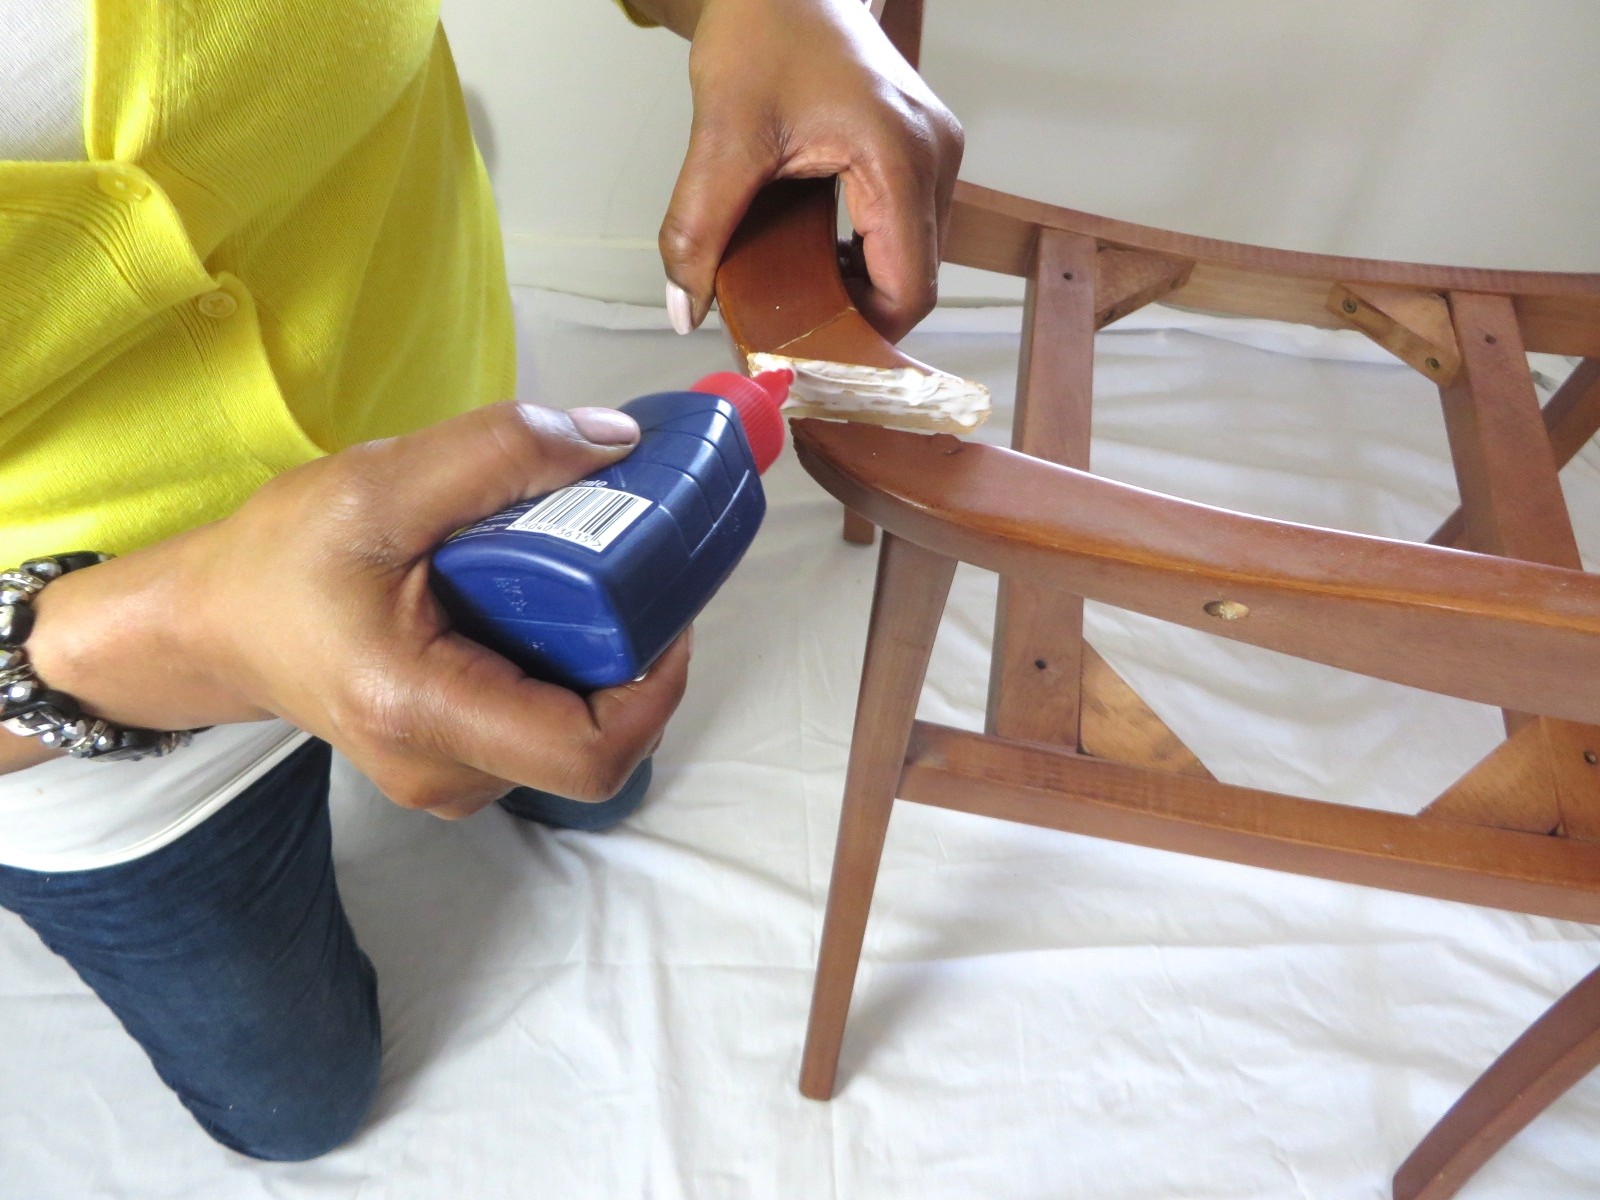
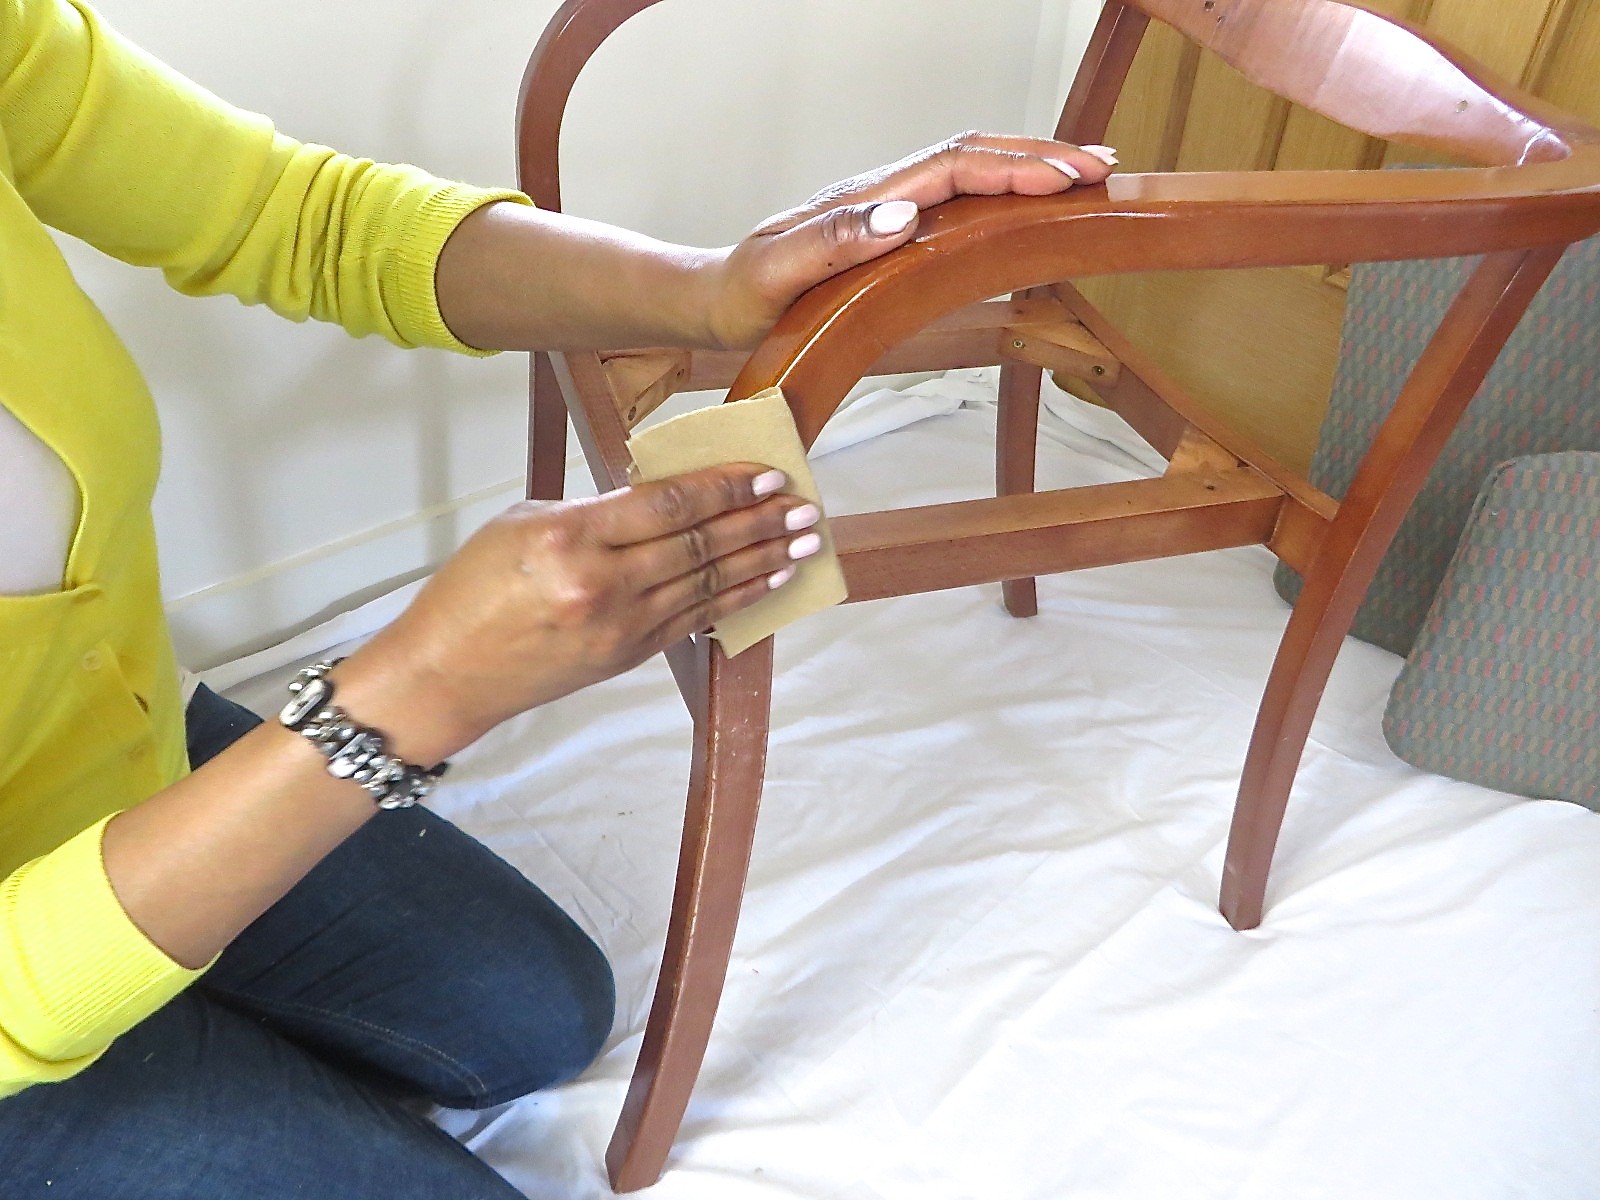
4. Turn the chair on it’s back. Starting at the base of the chair leg, dab a bit of glue on the chair leg and stick the ribbon in place. I like to use hot glue as it dries really quickly and is super strong.
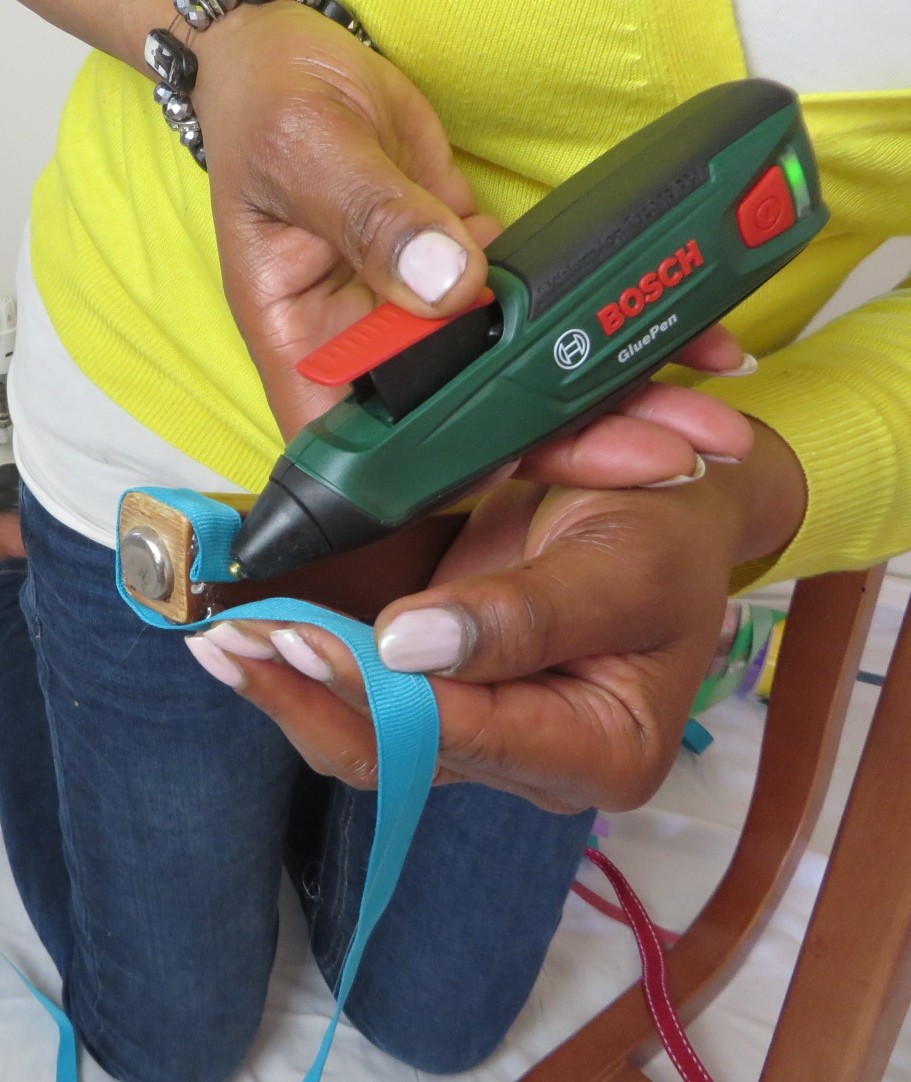
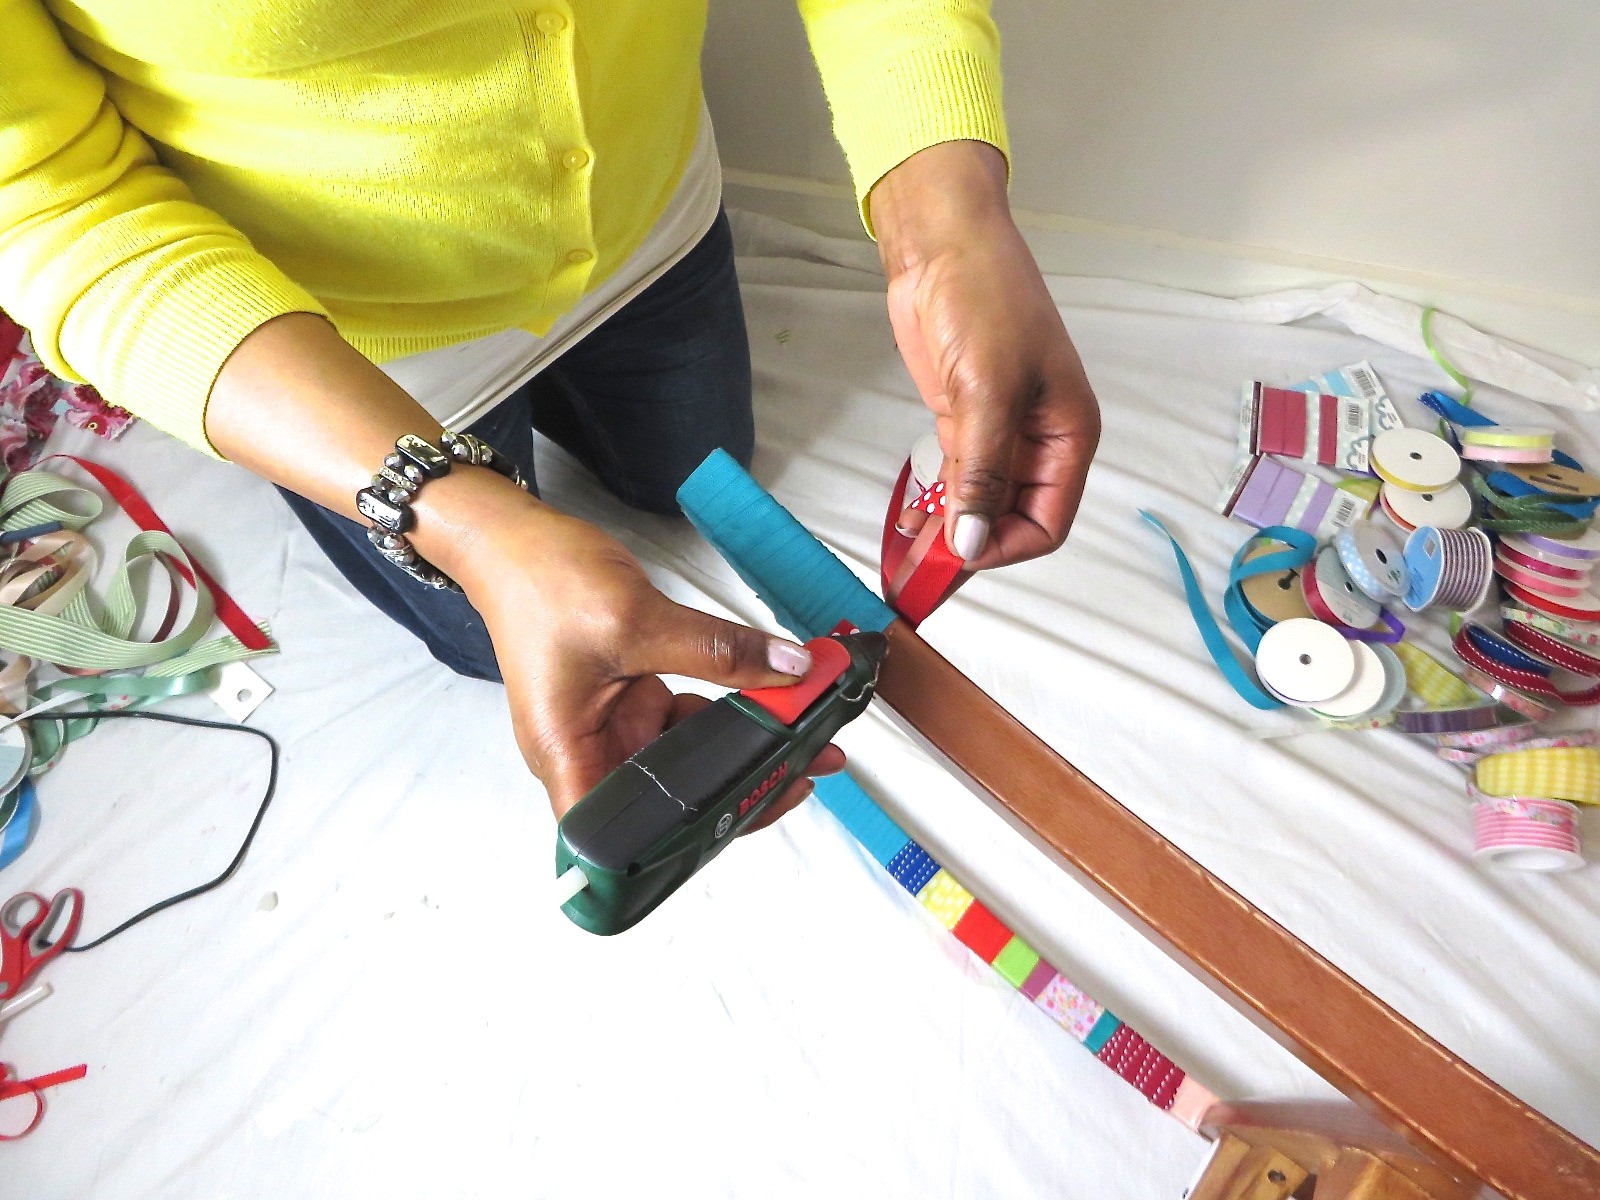
5. Continue wrapping the ribbon carefully but firmly around the leg and frame, adding a blob of glue every now and then to help secure in place. Add all manner of colours & widths at any point making sure to glue. Take extra care when going around the joins of the frame and the screw holes; remember you’ll need to put the upholstery sections back on! Once the frame is wrapped, set to one side.
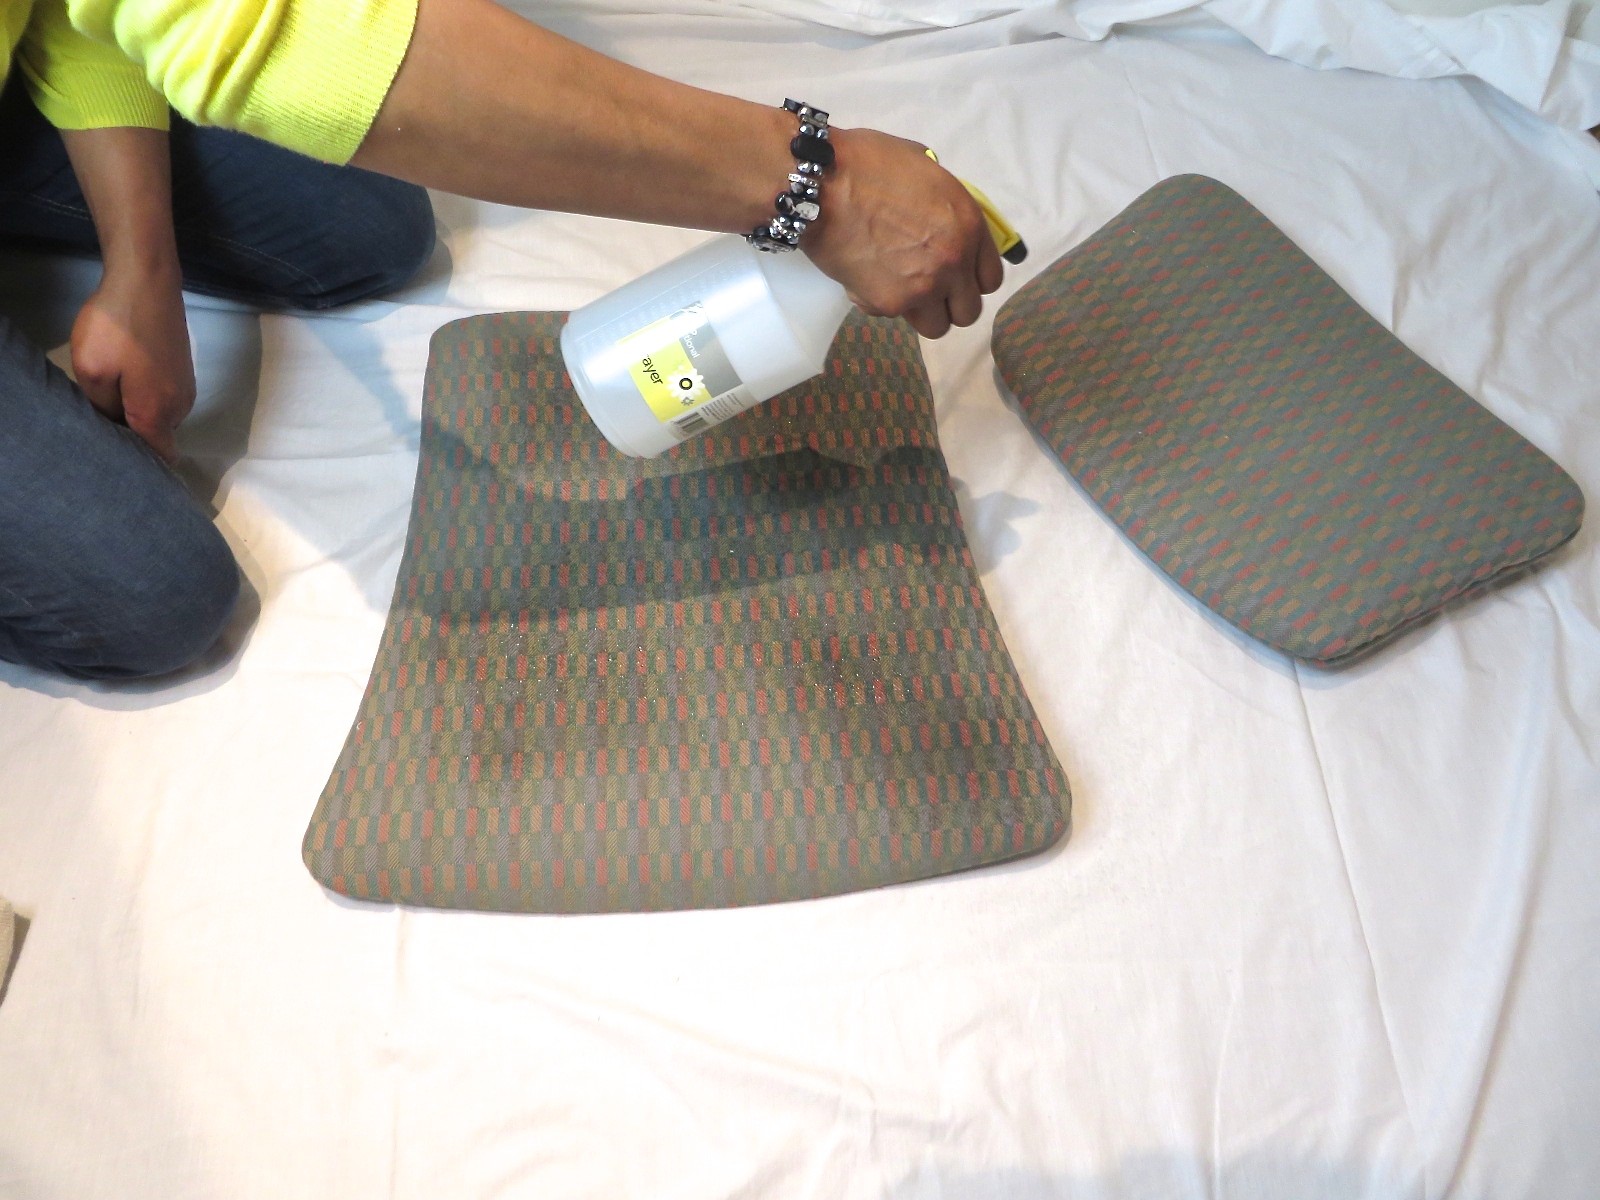
6. Spray fine mist of water on the upholstery, this helps to keep the fabric supple for painting. Water down the paint; I used an old plastic food container. 60% paint 40% water, worked well for me. Also the coats dry quicker as the paint isn’t too thick.
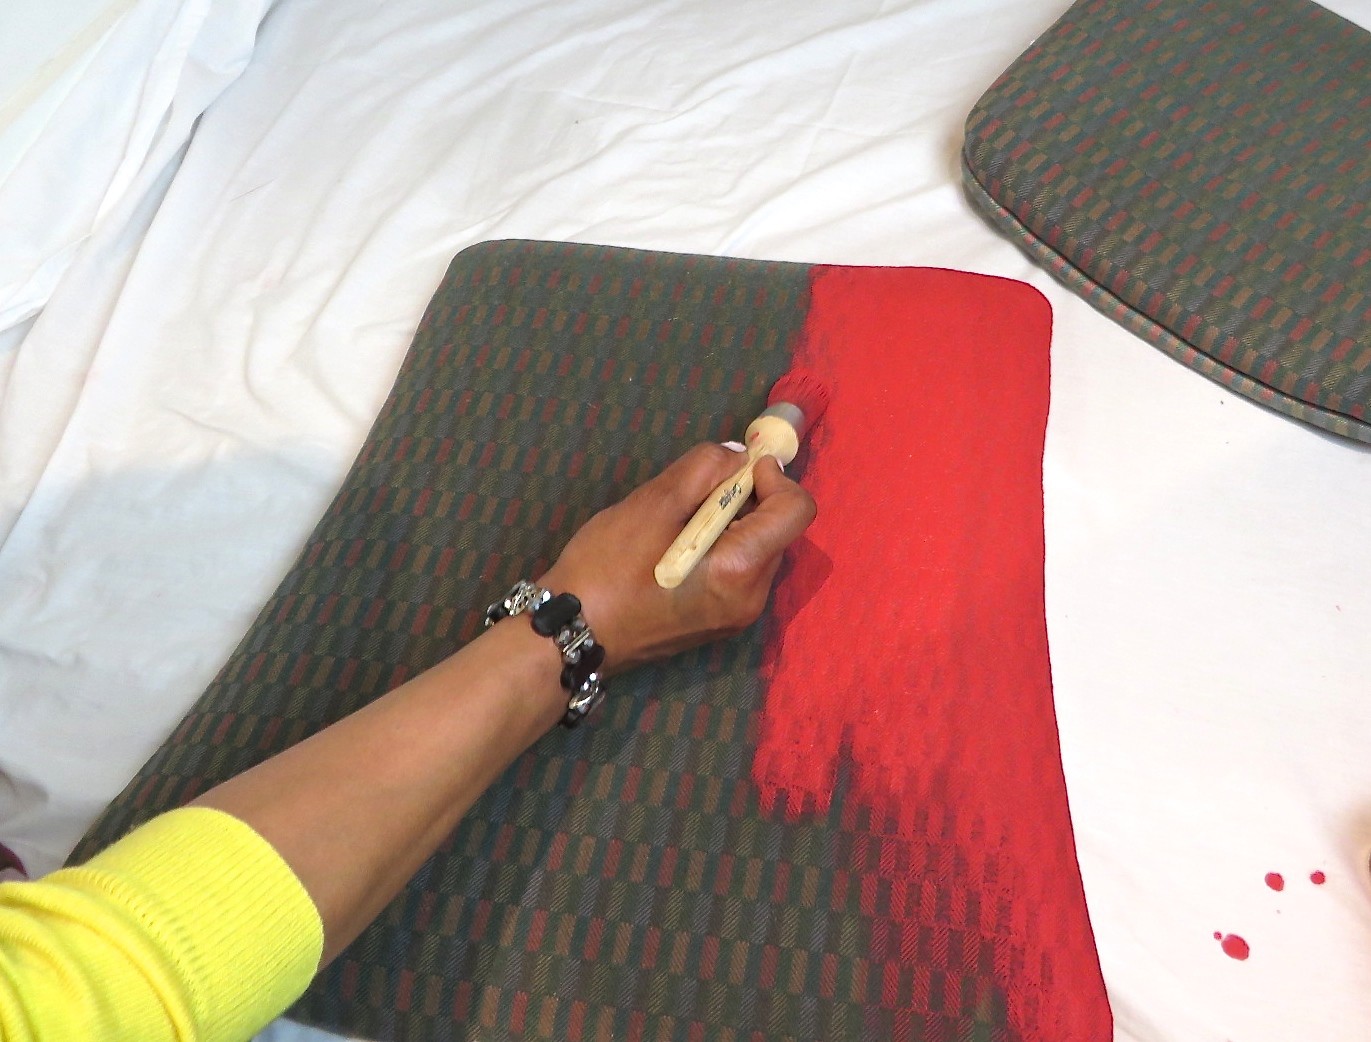
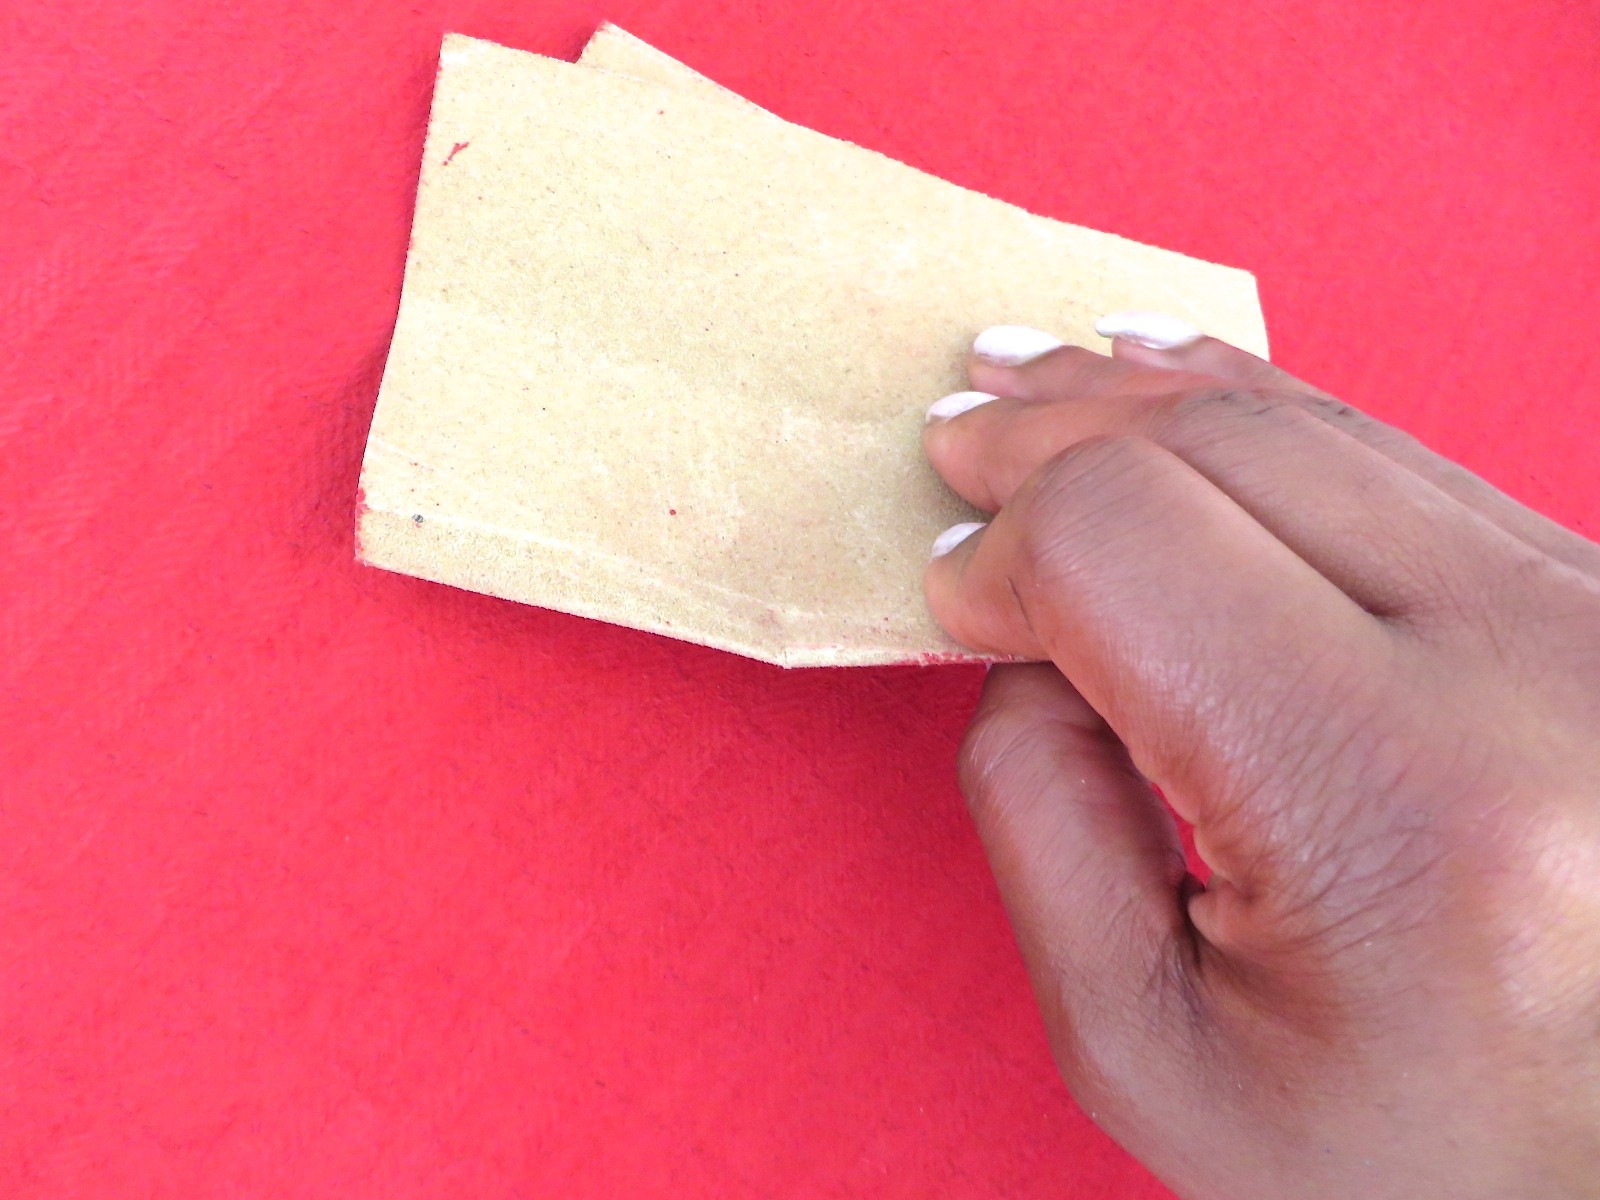
7. Less is more…. start painting thin coats and let them dry between coats. After the first coat I gave it a light sanding just to keep it all smooth. Depending on the colour you are going for and the starting colour of your upholstery you may need anything from 2-3 coats.
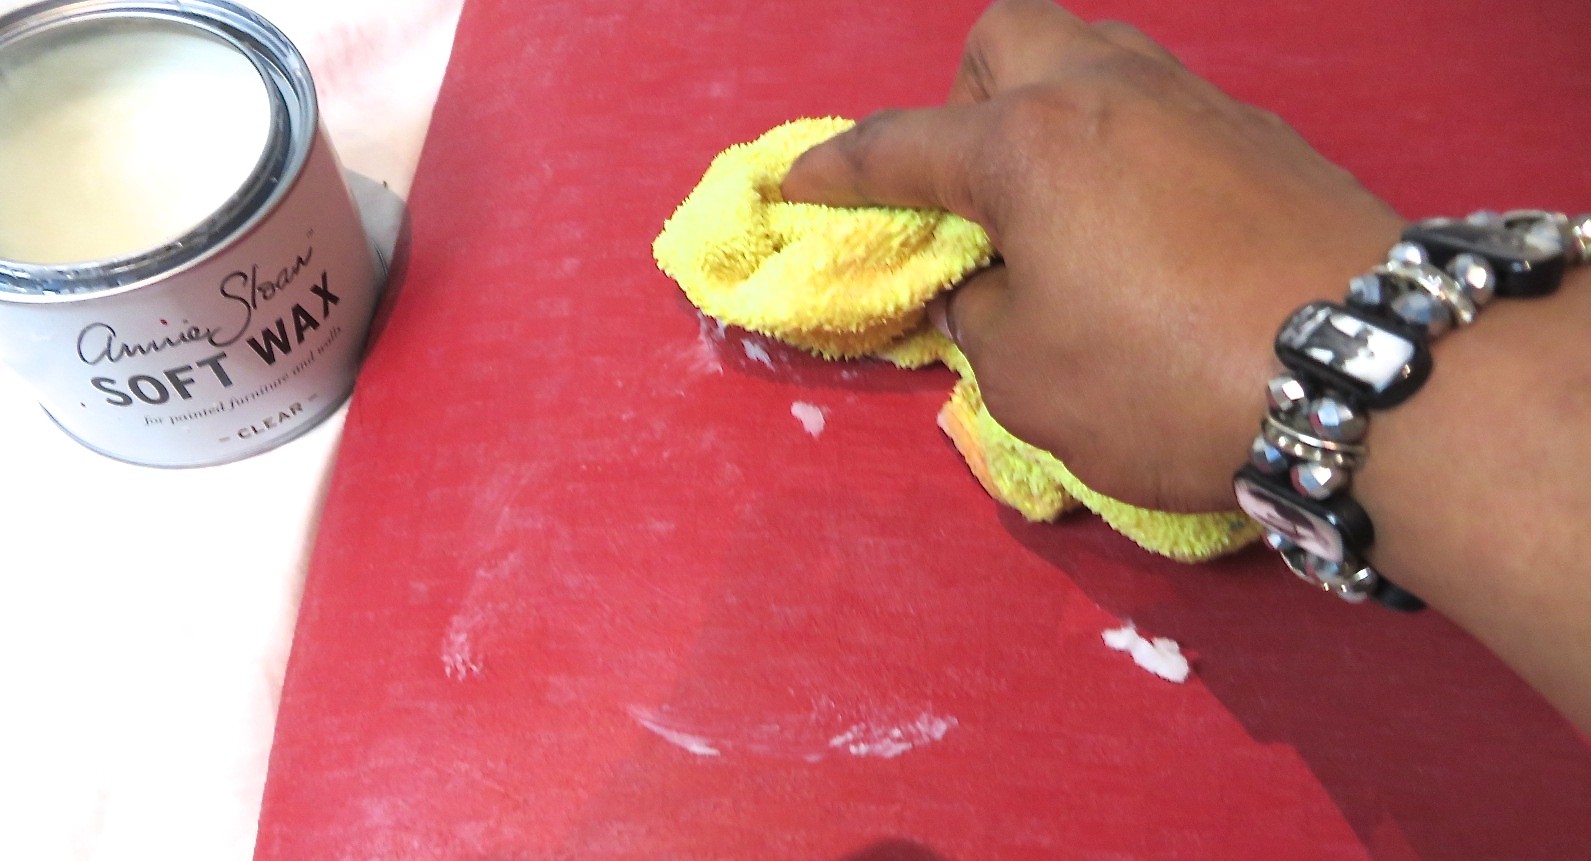
8. Once it’s completely dry (overnight works best). The paint may feel a little crisp, but this is where the soft wax comes in. It will soften the upholstery fabric as well as sealing it. Using your cloth (or an old t-shirt) spread the wax over the fabric, making sure all areas are covered, wipe away any excess. Leave overnight to allow the wax to adhere and dry. Then give it a good buff if you want a slight sheen to the fabric, giving it an almost leather look!
9. Screw in the chair back and seat to the chair frame. Hey presto, you’ve created a fab and totally unique chair!

Lesley
Super cute idea! Thanks for sharing!
Jacqui Joseph
Thanks Lesley!