Homemade Made Easy
Get your papers out and decoupage a dining chair…..
This is a great and easy way to turn a ‘seen-better-days’ dining chair into an interesting, fun and unique piece for the home.
Use all manner of decorative, colourful papers that match your room scheme to turn a chair from boring to standout in no time and it’s an ideal project for using up any pretty scrap papers. Be as daring as you like!


What you’ll need:
A chair in need of some TLC!
Cloth
Dust sheet (an old bed sheet or table cloth will do)
Decoupage glue, use one that is dual glue & varnish or glossy.
Paintbrush
Papers (I’m using the fab decopatch paper pads)
Quick Dry Clear Varnish
Let’s get started!
- Lay your dustsheet and pop the chair on top, making sure you have enough room to turn the chair in different positions for decoupaging. Give the chair a quick wipe to remove any dust.
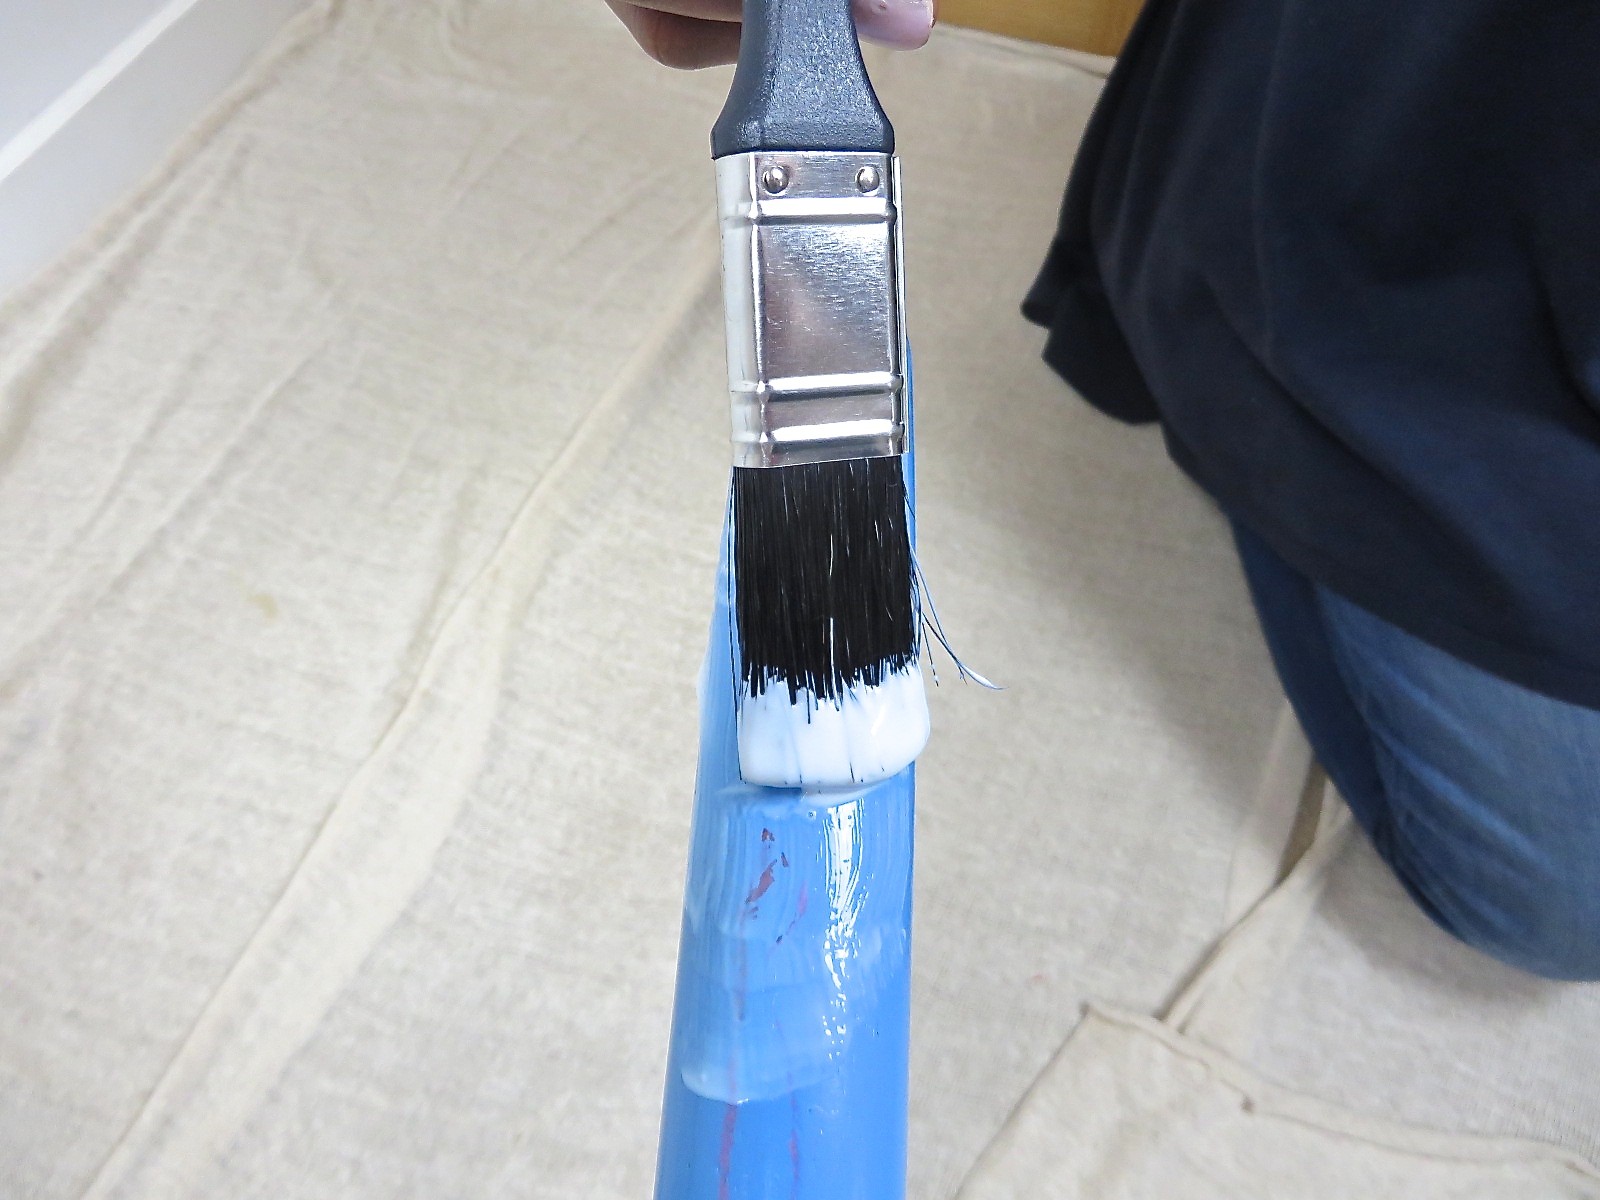
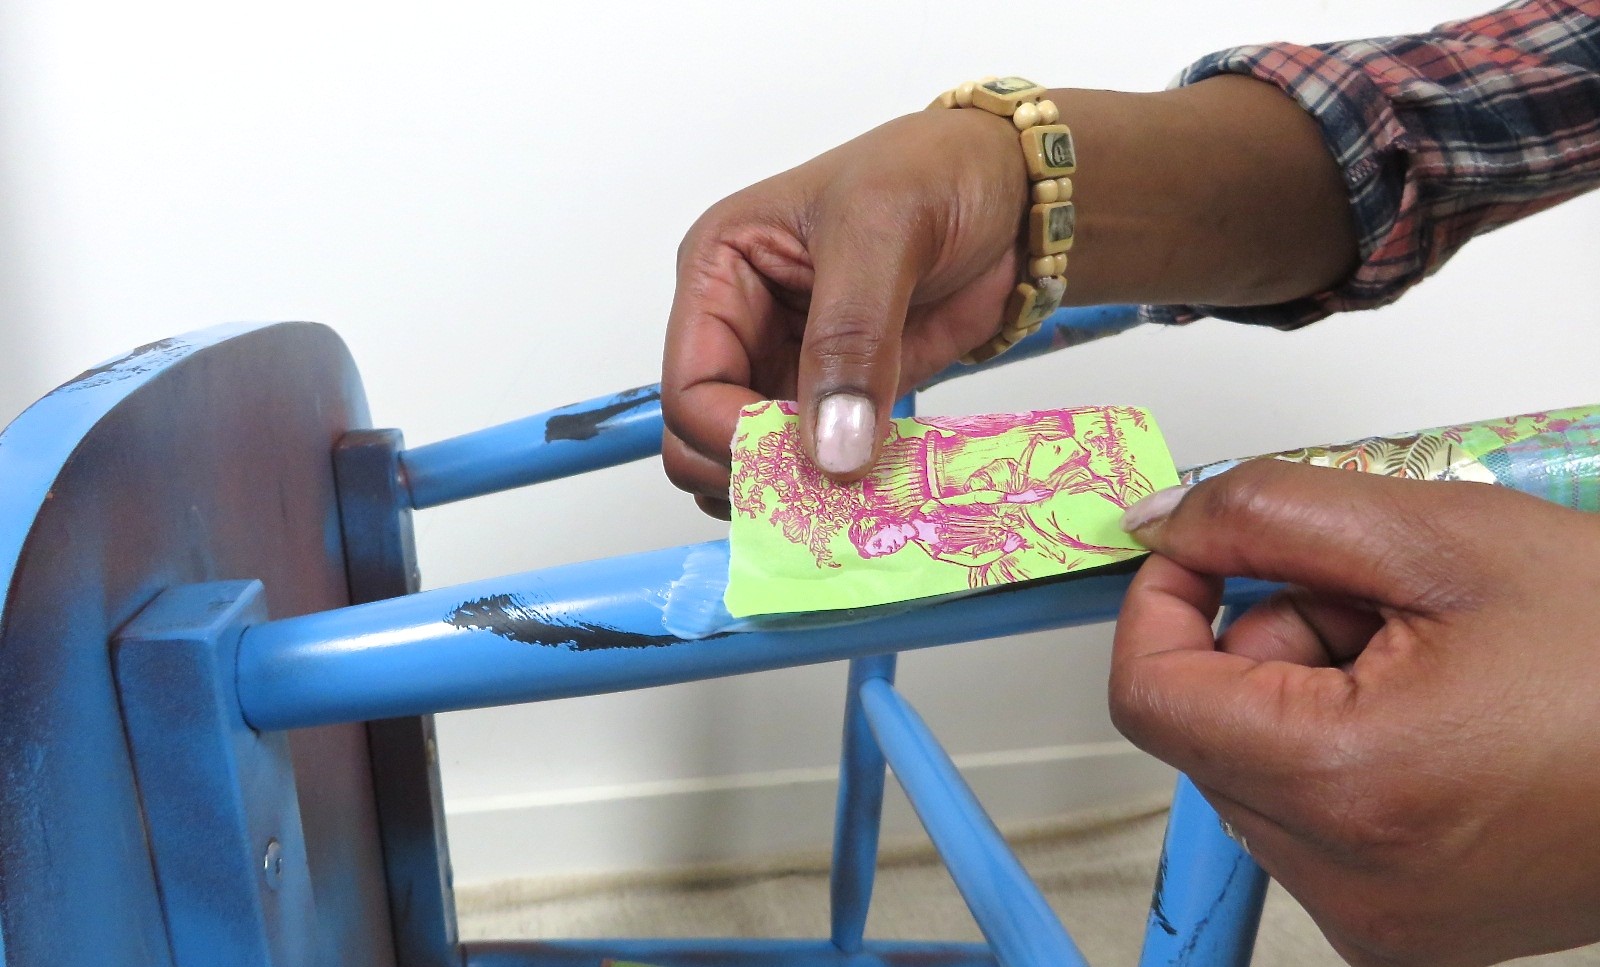
- I like to tear lots of paper at a time and have them in piles ready to glue on. Spread the glue to the surface using your paint brush, apply the paper gently to the area and using the paintbrush spread remaining decoupage glue over the paper, this overcoat also acts as a gloss varnish and sealant.
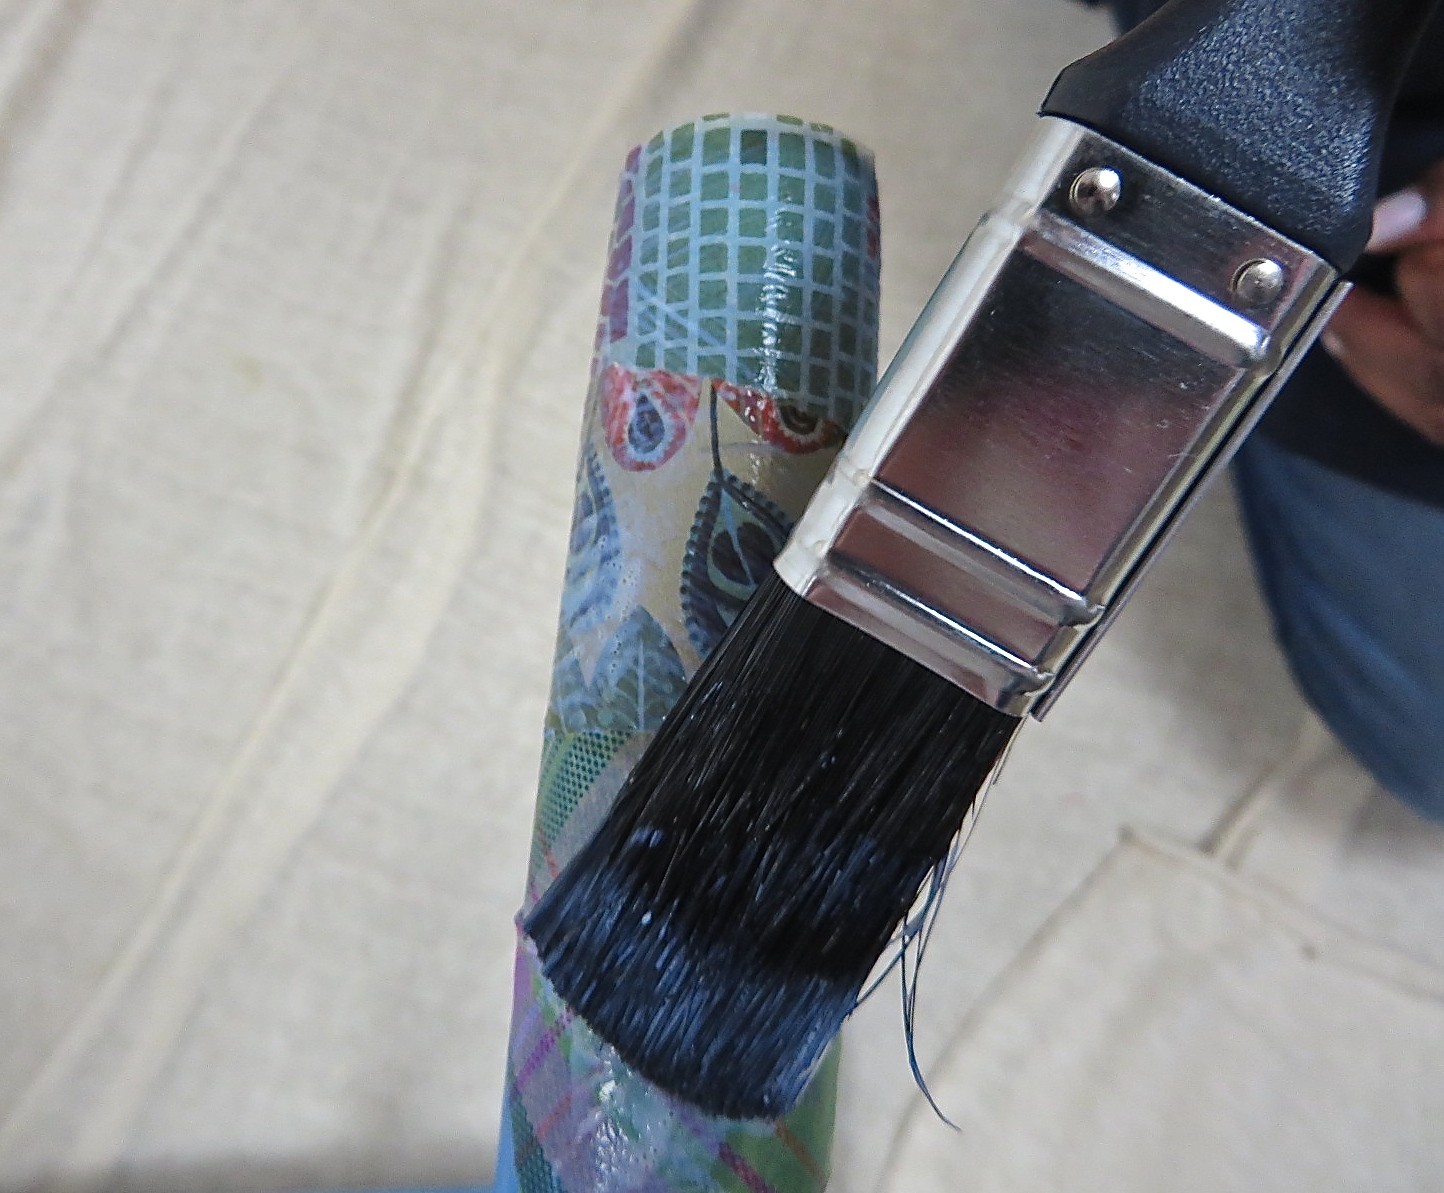
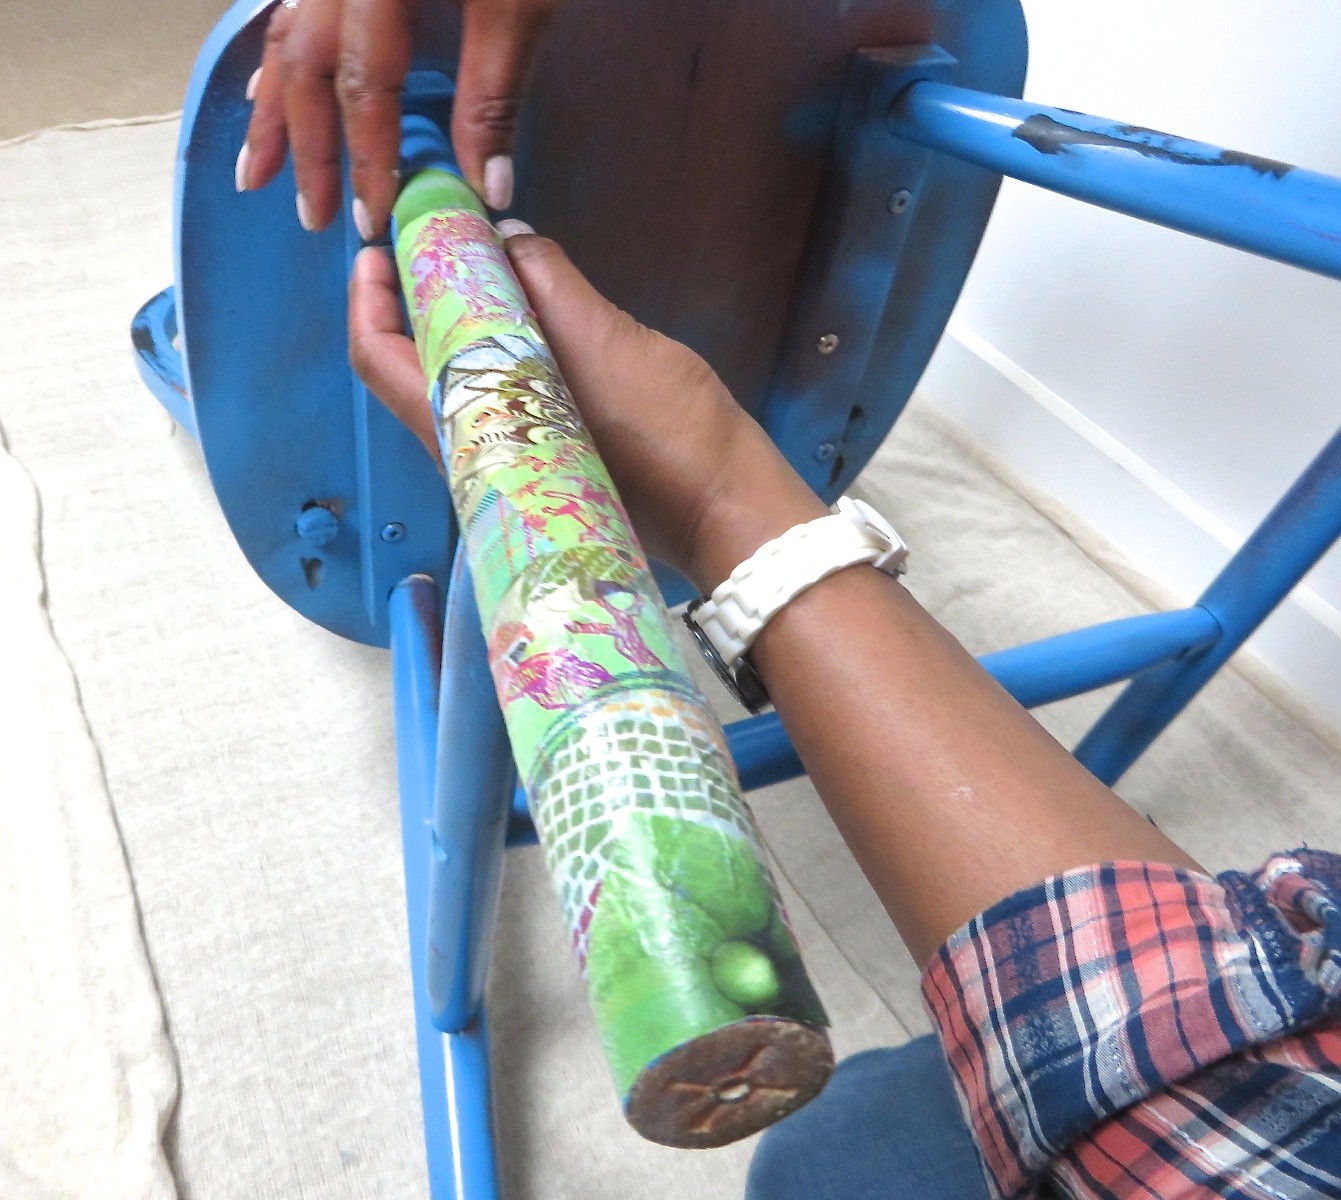
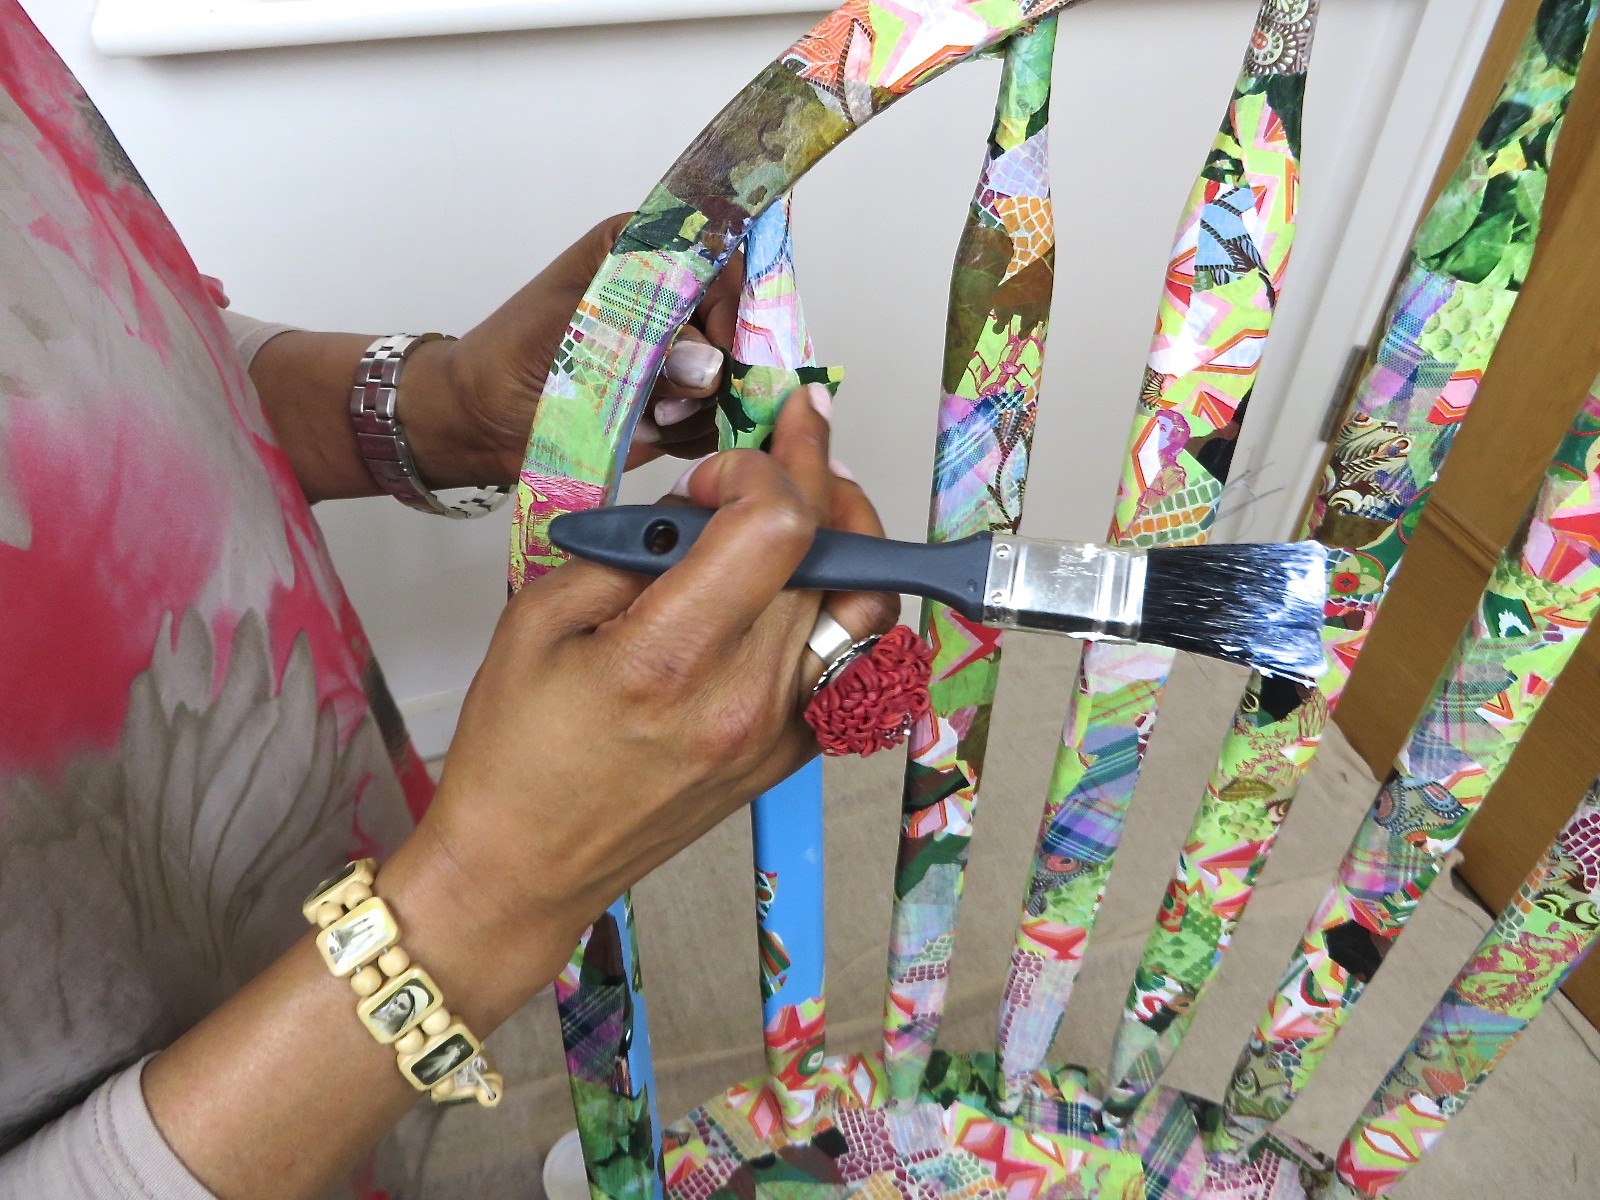
- Carry on spreading the glue and adding your papers covering the entire area. Don’t be afraid to overlap papers and tear to smooth into corners, use your brush to manipulate the papers in the awkward areas. Don’t worry if the paper splits or gets damaged…just add more paper on top! It all comes together really quickly!
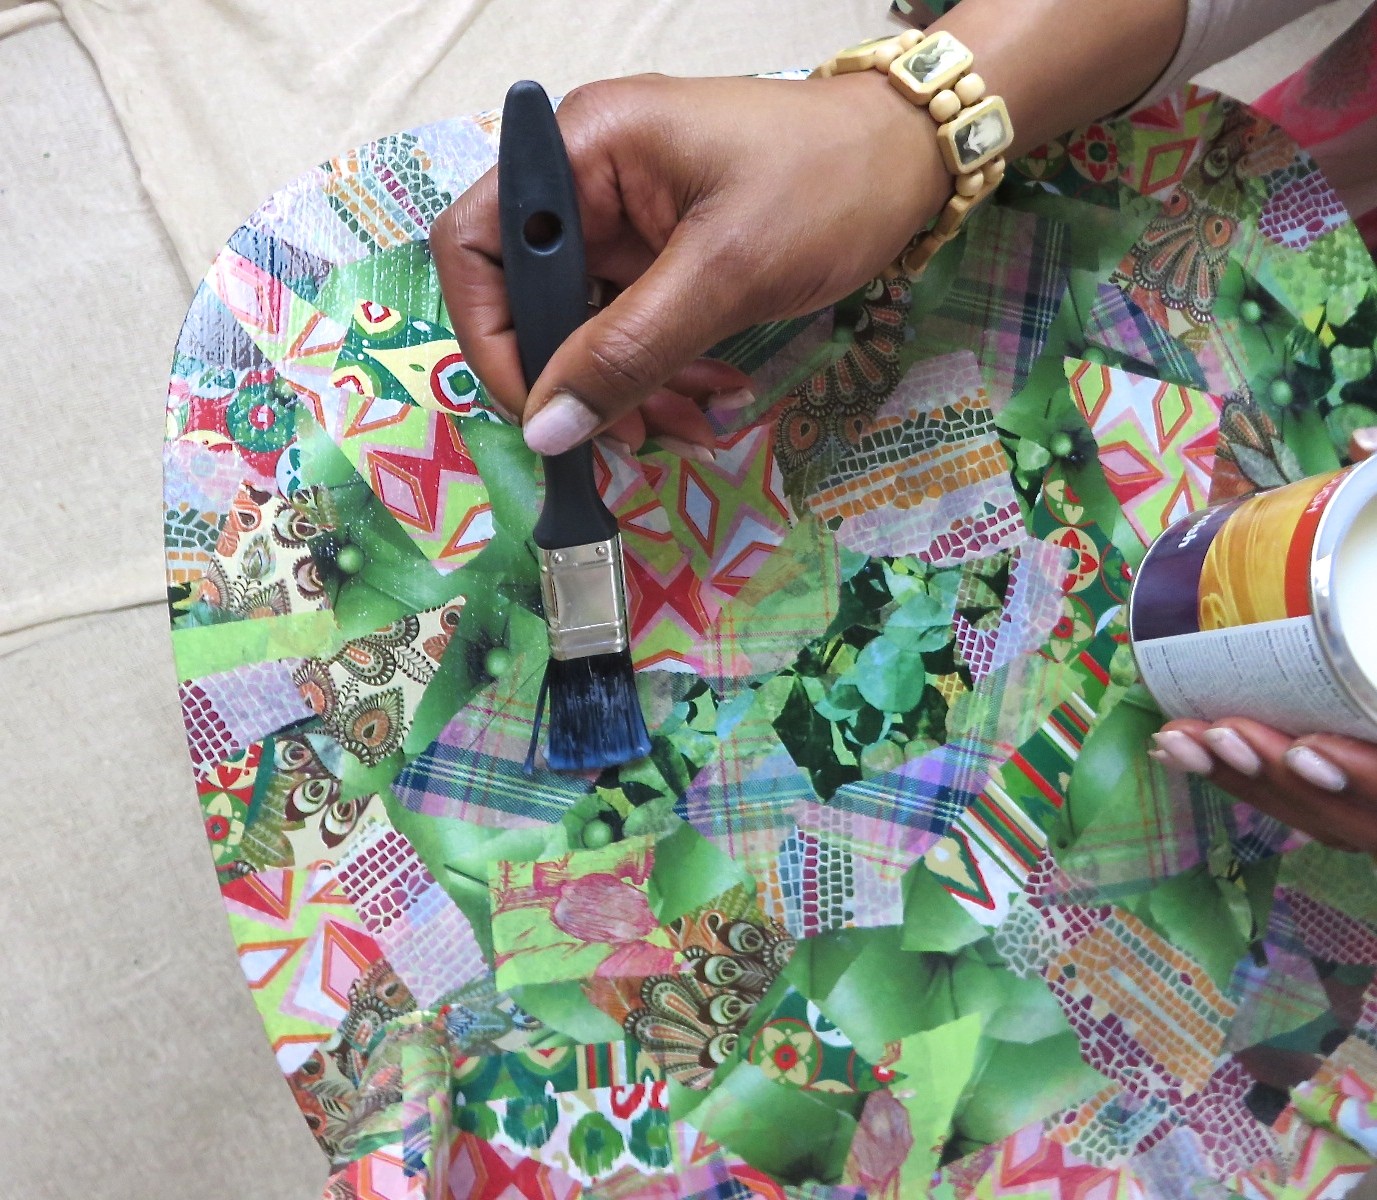
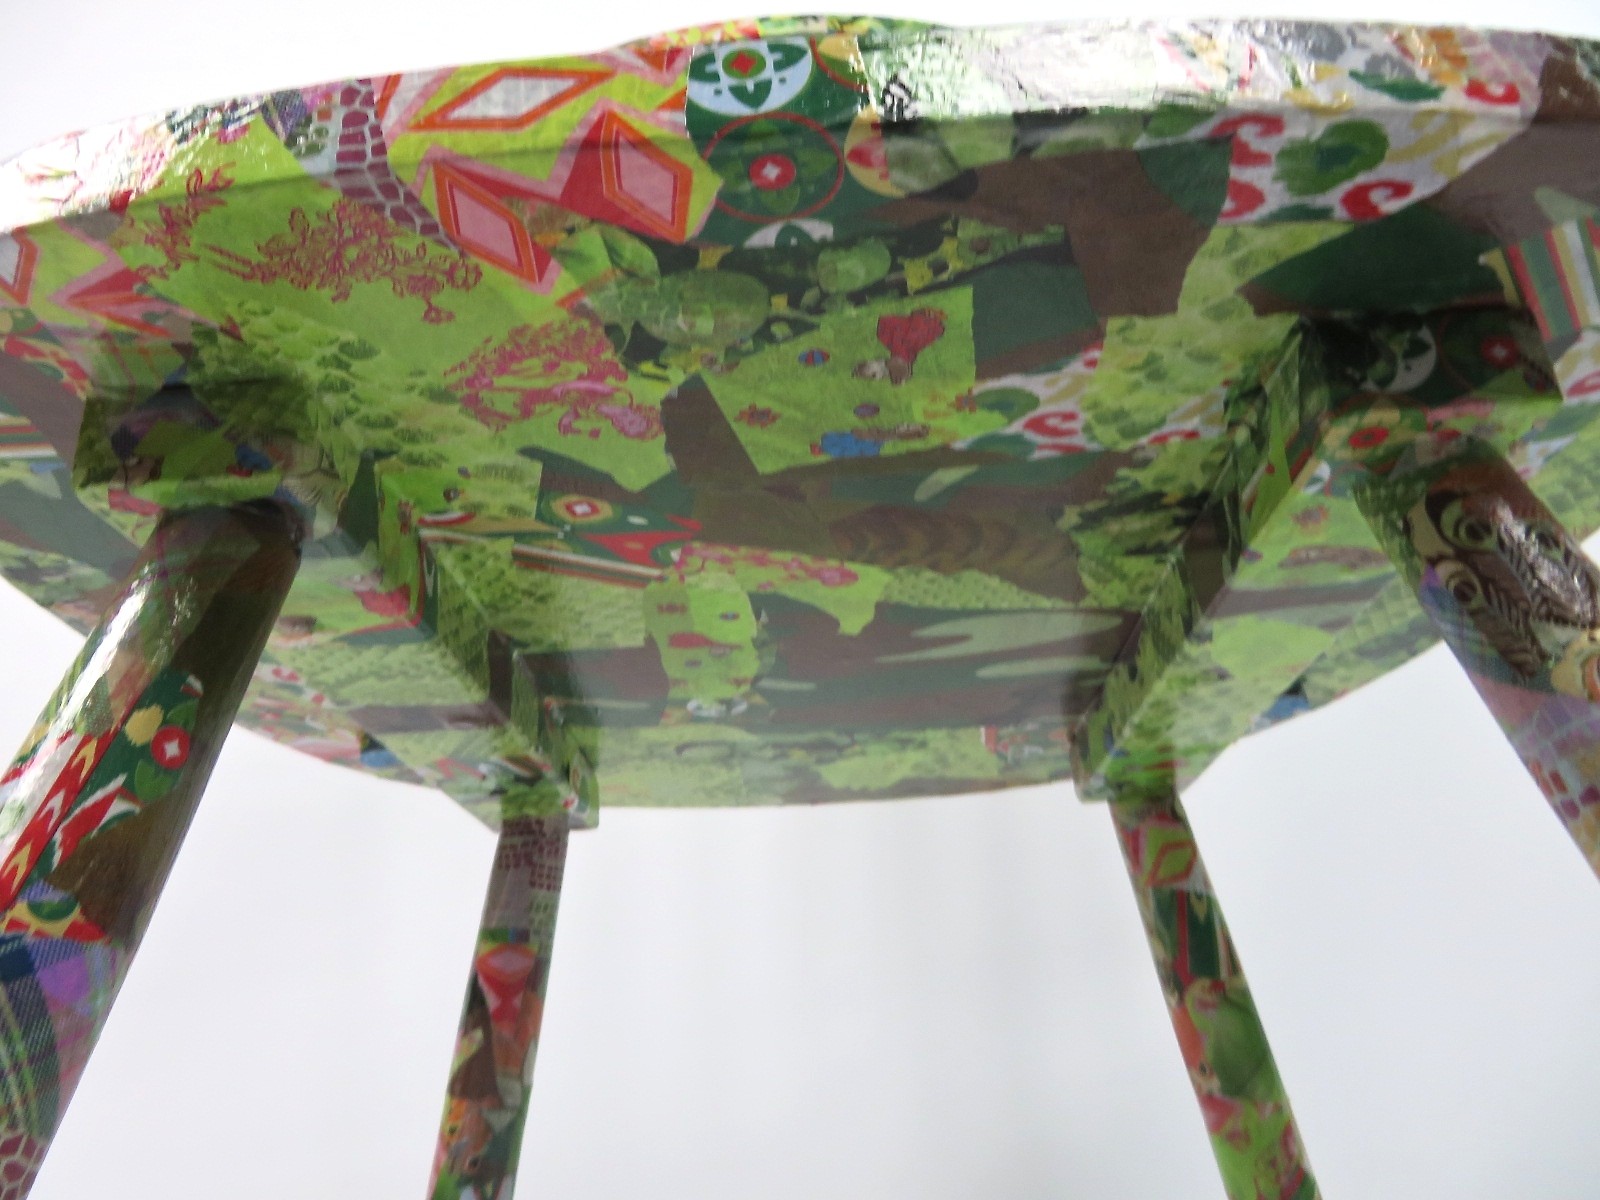
4. Once your chair is completely covered, leave it to dry, about an hour or 2 should do the trick. Then give the entire chair a coat of your glossy glue. Or if like me, 2 coats of quick dry clear varnish is perfect. Leave it to dry for the recommended time in between coats. I even decoupaged the underside!
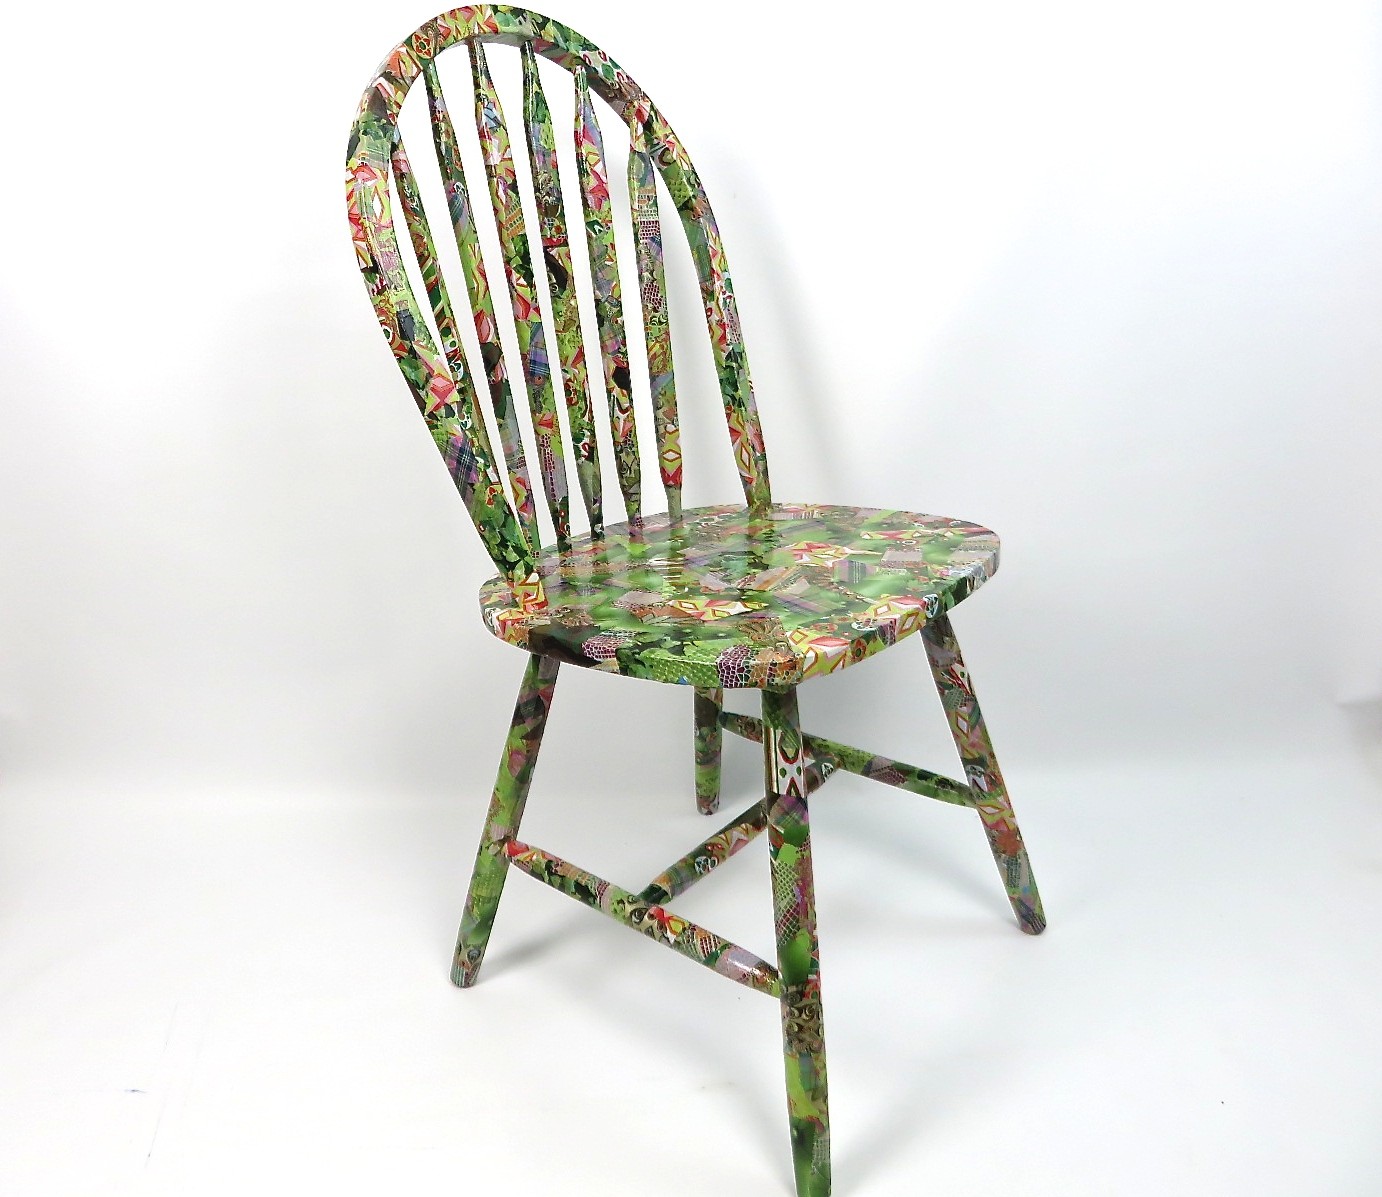
Sit back, relax and enjoy your creation…..while you plan your next decoupage project!
JJ’s Tips...
Remember – if you need to stop mid-decoupage ….wash your brush in warm soapy water and make sure you reseal the glue pot.
Not just for chairs…..Use the same technique to update home furniture. Side, bedside, dining or coffee tables, chest of drawers are great too, try using different papers on each drawer.
Vases, bottles, boxes are all great projects too.
Get Creative….Comics, newspapers, magazines, discarded books and even sweet wrappers are all perfect to use to create unique looks.
If your re-vamped piece is for outdoor use, make sure you give it 2 or 3 coats of clear exterior varnish, allowing drying time between coats. And if it’s an indoor piece that needs to withstand lots of use it’s also worth giving it a couple of coats of quick dry clear varnish to seal and protect, plus it gives it a lovely sheen. To be honest I varnish all my decoupage projects, even my glass pieces!
When decoupaging onto glass, get a little wrap of cling film to press down the paper, it’s a great way to get rid of any air pockets to give a smooth finish…. without damaging the paper. Check out my decoupage Vase project….

Cheryl Lynn Ehmke
Beautiful I go trash chair picking on rubbish day. Can I use modge lodge?
Jacqui Joseph
Definitely can use Mod Podge!
Julie
Where do you buy the patterned paper?
Jacqui Joseph
I’m so bad with the VERY LATE reply!!! I’ve sort of collected them over time, but online sell a whole host of fab decoupage papers! But you can also use all manner of papers from newspaper to comics!
ruth wigmore
Did you need to sand the chair first?
Jacqui Joseph
Hey Ruth, I generally give pieces a quick light sand, but that chair wasn’t heavily varnish so I went straight in with the mod podge x
ruth wigmore
Did you have to sand the chair first? Thanks. Looks great.
Linda Higgins
Do you tissue paper or can it be used?
Also can this cloth with this technique?
I’m working with bar stools.
Eloise Taesali
Awesomeness! Love your idea.